

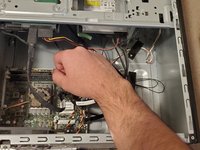
- Before starting, you should turn off the computer, unplug all wires and hold the power button down for 30 seconds to drain any remaining power left in components.
- Have an arm always touching metal casing when interacting with components inside the computer to avoid static damage to components.
The importance of this guide:
This guide is meant to provide you with knowledge to be able to repair/replace your very own CPU fan in an HP 550-A39 Desktop Computer. The CPU fan is a crucial part of the computer as it helps to stabilize and maintain internal temperatures. If a CPU fan is not running efficiently, it can deteriorate the computer over time and cause internal components to get damaged, potentially ending the computer’s life.
Reasons Why Faulty Fans may Occur
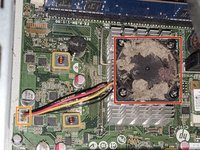
- Excessive dirt or debris in the fan can sometimes be the reason as they can clog up the fan blades. Clean out dust carefully and restart the computer as this may fix the issue.
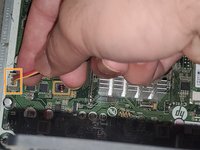
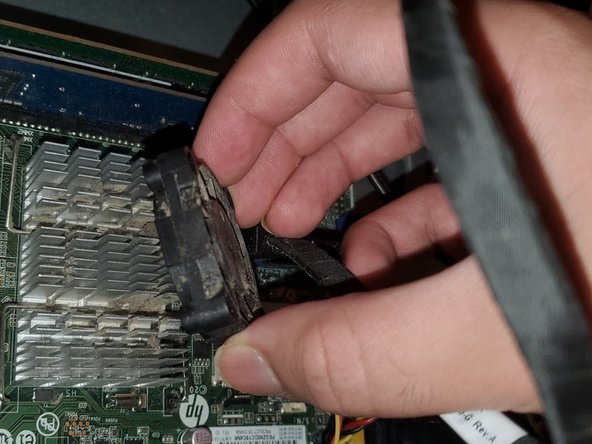
- If you built your computer from scratch and installed the fan yourself, ensure that it is installed in the correct location in its proper 3 pin port, also known as the CPU header.
- Some CPU fan headers may be faulty. Locate another one and try that if the one that your fan is currently plugged into doesn’t work.
- If thermal throttling occurs, it points to one of two things. If it’s not being caused by a faulty fan, the poor thermal management is likely being caused by degradation in the thermal paste. You can learn about how to replace the thermal paste using this How to Apply Thermal Paste guide.
- Keep computers in a cool place. If they are left in direct sunlight for extended periods this can cause the temperatures to rise and overwork the fan, making it become dysfunctional over time.
- Malfunctioning motherboards or power supply units could be the reason for why the fan has stopped running, which means the fan isn’t receiving much power and there may not be anything wrong with the fan. If replacing the fan and thermal paste doesn’t solve the issue, you may need to address these other components to fix your issue.
Symptoms of A Fan That Needs To Be Replaced
- Computer becomes hot very frequently and the fan is making a loud noise
- Random System Shutdowns due to overheating
- If the fan is overly loud or makes excessive noise (* Note fans do make noise while running, but if it gets louder than usual then this is a sign.)
필요한 것
부품
도구


더보기...
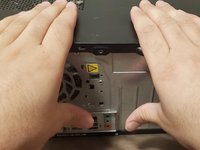
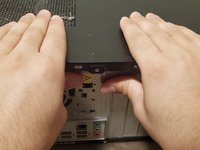
-
-
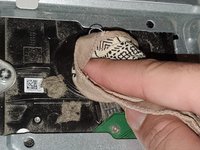
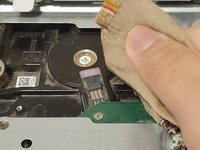
이 단계에 사용된 도구:Microfiber Cleaning Cloths$3.99
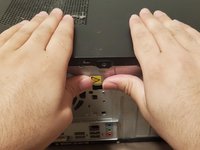
-
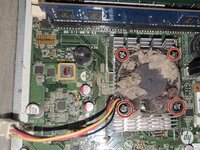
Clean off any excess dust from the motherboard by blowing it off first and then wiping it off with a microfiber cloth.
-


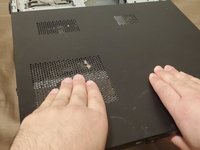


To reassemble your device, follow these instructions in reverse order.
To reassemble your device, follow these instructions in reverse order.
다른 한 분이 해당 안내서를 완성하였습니다.

팀

York University, Team S1-G117, Woodhouse Fall 2020 York University, Team S1-G117, Woodhouse Fall 2020 회원
YORK-WOODHOUSE-F20S1G117
1 회원
안내서 2개를 작성함