
HP Pavilion 13-P110NR Battery Replacement
This guide provides a detail explanation of how to replace your device's battery. Before you begin, make sure you have adequately troubleshoot your poor battery life using this Troubleshooting Page. In addition, make sure you have read through all the steps required and understand what you will be doing. If you don't understand or feel comfortable completing any of the steps, find someone with more experience to assist you with this guide.


-
-
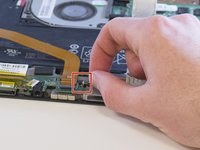
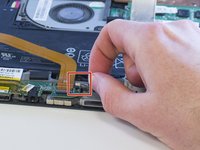
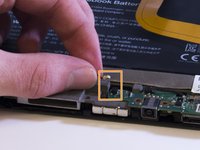
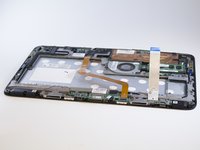
Gently use the black nylon spudger to pry the back casing from the screen until it snaps apart.
-
-


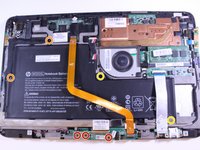


To reassemble your device, follow these instructions in reverse order.
To reassemble your device, follow these instructions in reverse order.
팀

Eastern Washington University, Team S2-G5, Munoz Winter 2018 Eastern Washington University, Team S2-G5, Munoz Winter 2018 회원
EWU-MUNOZ-W18S2G5
4 회원들
안내서 5개를 작성함