
IBM Thinkpad T60 LCD Screen Replacement
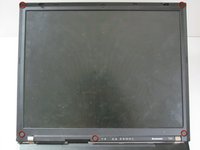
This guide will teach users how to carefully disassemble the screen of the IBM Thinkpad T60. This will allow users to replace a broken LCD screen or upgrade their current version. Remember to always power down the computer before attempting any installation/removal of any hardware components. Be sure to remove the AC adapter and all cables from the computer. If the computer has been on, wait several minutes before beginning the procedure to ensure all parts have cooled down.


-
-
Turn the computer over to see the small tab on the battery located near the top of the Thinkpad.
-
Use your finger to slide the tab to the right to unlock the battery.
-
-
-
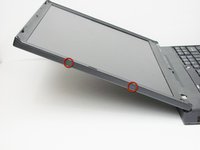
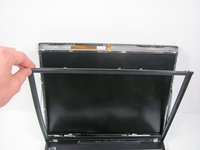
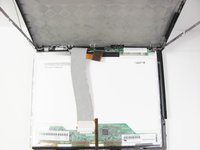
Open the laptop so that the screen is facing you.
-
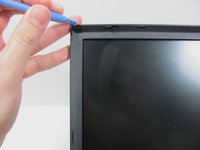
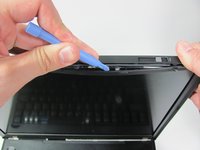
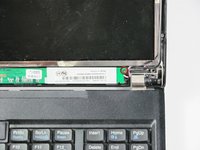
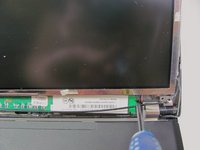
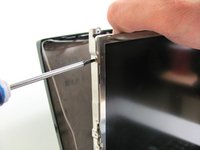
Use a plastic opening tool to pry off the eight plastic screw covers around the display.
About "Note that there are screw covers on the sides (two on the left and one on the right).":
1. Are these screw covers glued?
2. After finish replacing any parts, do I need apply glue to attach these screw covers again(or they are self-glued)?
3. Is this method(screw covers cluing) very popularly used with IBM Thinkpads?
(I need to replace Thinkpad X40 LCD rear cover, but not confident to start)
-
-


To reassemble your device, follow these instructions in reverse order.
To reassemble your device, follow these instructions in reverse order.
다른 5명이 해당 안내서를 완성하였습니다.
팀

Cal Poly, Team 7-9, Maness Winter 2013 Cal Poly, Team 7-9, Maness Winter 2013 회원
CPSU-MANESS-W13S7G9
4 회원들
안내서 16개를 작성함