소개
This guide provides steps for replacing the audio jack in the LeapFrog LeapPad Ultra XDi (model number 33300) .
The audio jack transmits audio from the device to auxiliary devices. When this part is not working properly audio may be distorted or not audible. You should first try the audio jack troubleshooting guide before replacing the entire audio jack.
Step 10 requires you to desolder the audio jack from the motherboard and solder a the replacement audio jack. If you’re not familiar with soldering you can follow this guide for instructions. A new audio jack is also required for this guide.
Before beginning, make sure to power down the device completely and disconnect it from any power source.
필요한 것
-
-
-
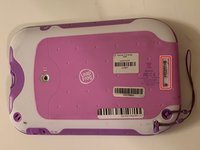
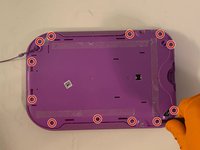
Orient the tablet so it’s laying screen down and the barcode sticker is facing up.
-
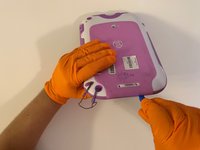
Remove the barcode sticker to expose the two screws.
 FixBot에 문의하기
-
-
-
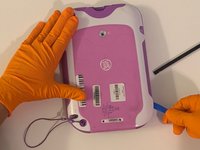
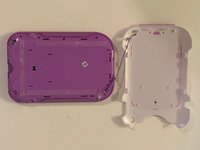
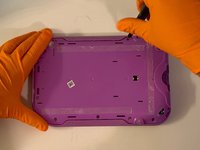
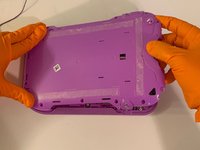
Using the iFixit opening tool, pry off the purple and white child-proof casing to expose the twelve screws.
-
-
-
Remove all twelve 7mm Phillips #1 screws located along the edges of the device.
-
-
-
-
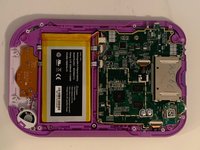
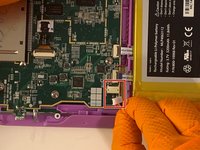
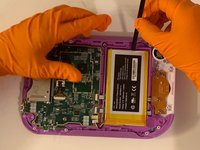
Using your fingers, grab the battery wires and carefully unplug them from the motherboard.
-
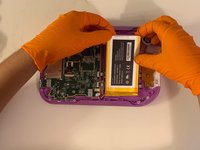
Use the Spudger to remove the glued down battery.
-
-
-
-
-
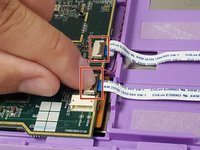
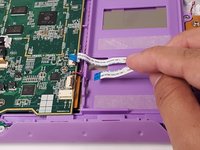
Locate the three ribbon cables on top of the motherboard.
-
Flip up the locking clip on the ribbon cable connector to release the cable.
-
Disconnect the cables from their connectors.
-
-
-
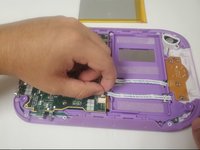
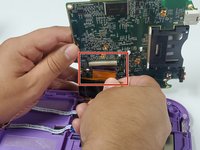
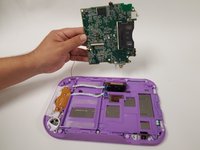
Lift the motherboard up to expose the fourth ribbon cable underneath.
-
Flip up the locking clip to release the cable and disconnect the cable from the connector.
-
-
-
Locate the headphone jack on the bottom right corner of the motherboard.
-
Use a soldering iron to desolder the five metal connections to the motherboard.
-
Replace the headphone jack.
-
-















To reassemble your device, follow these instructions in reverse order.

팀

University of North Texas, Team S1-G4, Friess Fall 2019 University of North Texas, Team S1-G4, Friess Fall 2019 회원
UNT-FRIESS-F19S1G4
3 회원들
안내서 5개를 작성함
