
PlayStation Portal Adaptive Trigger Replacement

This guide shows how to remove and replace either adaptive trigger for your PlayStation Portal.
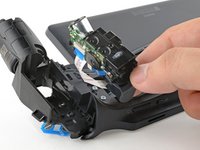
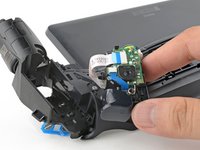
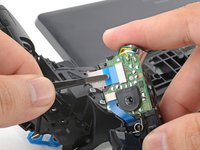
This repair is for the entire adaptive trigger module. The module includes the trigger, motor assembly, and supporting circuit board.
The repair is written using the right adaptive trigger module. If you're replacing the left trigger module, the procedure will be similar.


-
-
Before you begin repairs, power off your PlayStation Portal and unplug any cables.
-
-
-
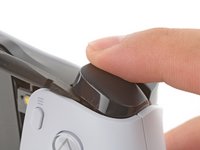
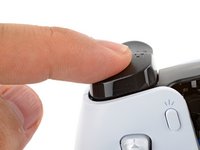
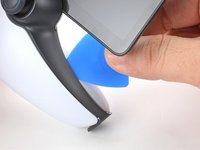
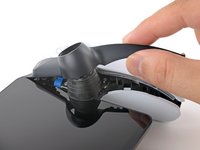
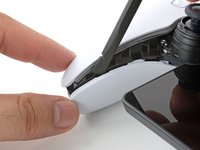
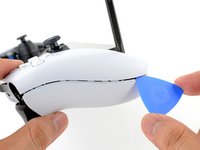
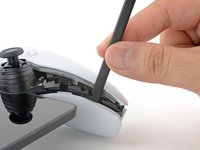
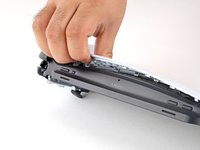
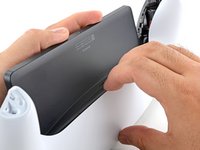
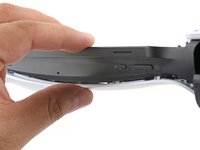
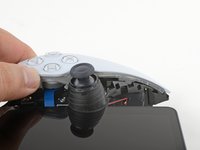
Rest a finger over the L1 bumper to prevent it from flying off when you pry.
-
Insert the flat end of a spudger between the top edge of the bumper and the white shell.
-
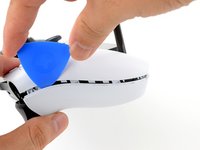
Pry up to unclip the bumper.
-
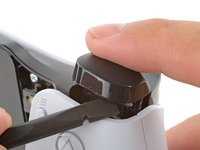
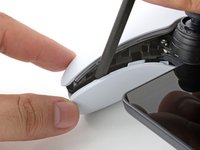
Slide the spudger along the seam to release any remaining clips.
-
-
-
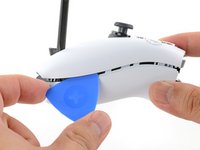
Align the bumper into its slot.
-
Use a finger to press the bumper down firmly until it clicks into place.
-
-
-
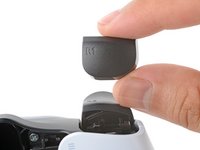
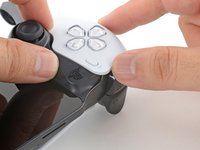
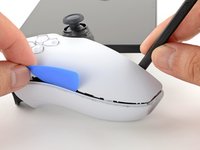
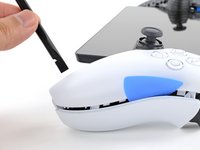
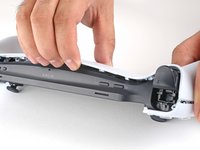
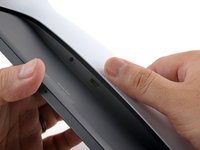
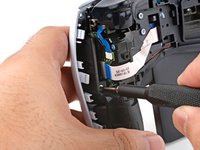
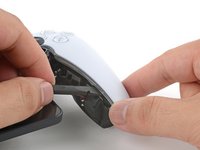
Insert the tip of an opening pick underneath the left joystick trim strip, where it wraps below the grip.
-
Twist the opening pick to release the bottom clip.
-
-
-
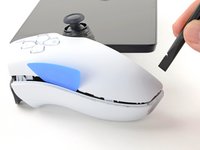
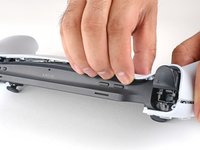
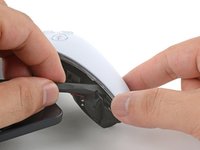
Repeat the procedure to unclip and remove the right joystick trim strip.
-
-
-
-
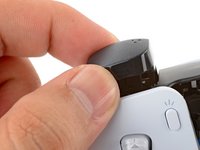
Use your fingers to align and clip the top edge in place.
-
Firmly press along the remaining edges to clip the strip in place.
-
-
-
Use a Phillips screwdriver to remove the two 6.5 mm‑long screws at the bottom tips of each grip.
-
-
-
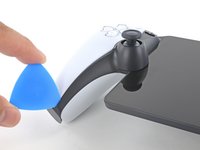
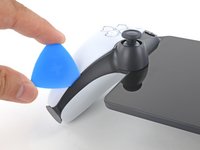
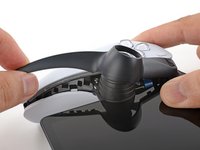
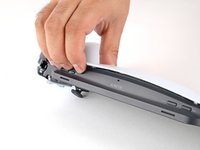
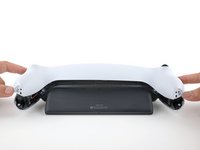
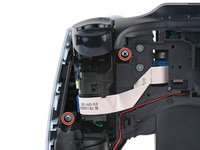
Push the flat edge of a spudger into the back shell's left, inner seam.
-
Keep the spudger inserted in the seam.
-
-
-
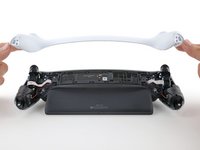
Align the corners near the trigger buttons first.
-
Firmly press around the entire perimeter to clip the shell back in place.
-
-
-
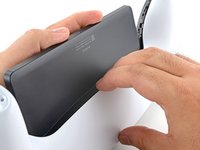
Use a Phillips screwdriver to remove the two 6.5 mm‑long screws securing the right grip shell to the Portal.
-
-
-
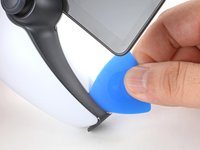
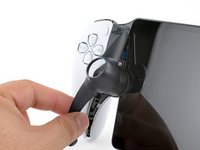
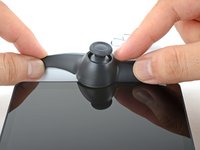
Insert the flat edge of a spudger underneath the inner edge of the grip shell, near the vibration motor.
-
Twist the spudger along the edge to unclip the bottom portion of the grip shell.
-
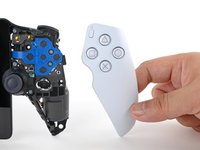
Remove the right grip shell.
-
-
-
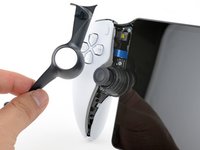
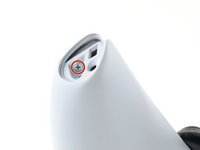
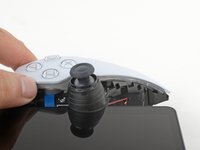
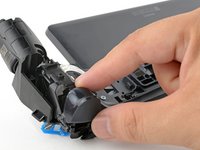
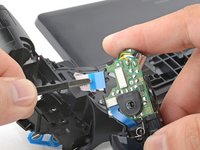
Use a Phillips screwdriver to remove the two 6.5 mm‑long screws securing the adaptive trigger module to the frame.
-


To reassemble your device, follow these instructions in reverse order.
Take your e-waste to an R2 or e-Stewards certified recycler.
Repair didn’t go as planned? Try some basic troubleshooting, or ask our Answers community for help.
To reassemble your device, follow these instructions in reverse order.
Take your e-waste to an R2 or e-Stewards certified recycler.
Repair didn’t go as planned? Try some basic troubleshooting, or ask our Answers community for help.

