소개
Use this guide to replace a cracked or broken screen on your Redmi Note 9 Pro.
If the frame is deformed, it's important to replace it to make sure the new screen will mount correctly and won’t suffer damage from uneven pressure.
If your battery is swollen, take appropriate precautions. Before disassembling your device, discharge the battery below 25%. The battery can catch fire and/or explode if accidentally punctured, but the chances of that happening are much lower if discharged.
Note: This guide instructs you to replace only the screen while leaving the original frame and motherboard in place. However, some replacement screens for this phone come pre-installed in a new frame (a.k.a. chassis), which requires a very different procedure. Make sure you have the correct part before starting this guide.
Before you begin this procedure, be sure to have a set of replacement adhesives for both the rear glass and the screen.
필요한 것
-
-
Prepare an iOpener and apply it to the rear glass for at least two minutes to loosen the adhesive underneath.
 FixBot에 문의하기
-
-
-
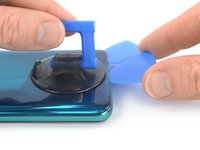
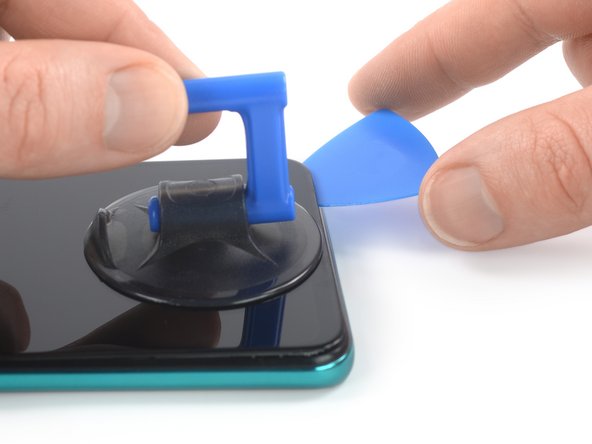
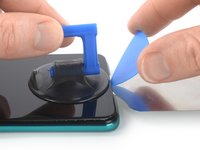
Secure a suction handle to the bottom edge of the rear glass, as close to the edge as possible.
-
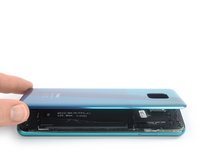
Lift the rear glass with the suction handle to create a small gap between the back cover and the frame.
-
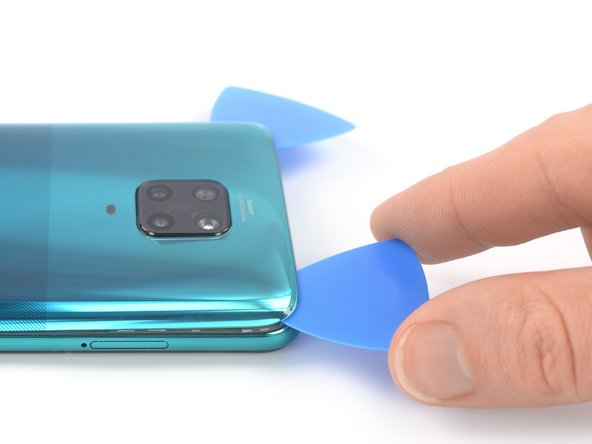
Insert an opening pick into the gap you created.
-
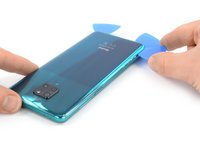
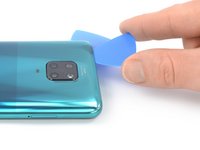
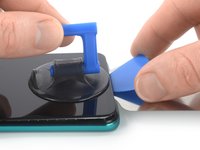
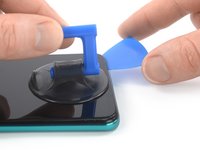
Slide the opening pick to the bottom right corner to slice the adhesive.
-
Leave the opening pick in place to prevent the adhesive from resealing.
-
-
-
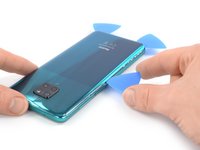
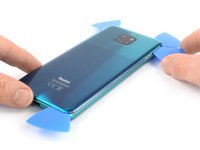
Insert a second opening pick at the bottom edge of your phone.
-
Slide the opening pick to the bottom left corner to slice the adhesive.
-
Leave the opening picks in place to prevent the adhesive from resealing.
-
-
-
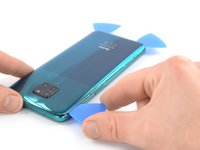
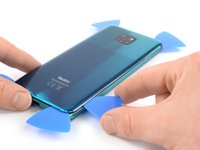
Insert a third opening pick at the bottom left corner of your phone.
-
Slide the opening pick along the left edge of your phone to slice the adhesive.
-
Leave the opening pick in the top left corner to prevent the adhesive from resealing.
-
-
-
Insert a fourth opening pick underneath the top left corner of your phone.
-
Slide the opening pick along the top edge to slice the adhesive.
-
Leave the opening pick in the top right corner to prevent the adhesive from resealing.
-
-
-
Insert a fifth opening pick underneath the top right corner.
-
Slide the opening pick along the right edge of the rear glass to slice the remaining adhesive.
-
-
-
Use a Phillips screwdriver to remove the eleven 3.9 mm-long screws securing the motherboard cover.
-
-
-
-
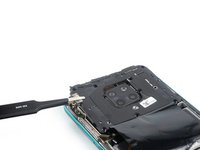
Insert the tip of an opening pick underneath the left edge of the motherboard cover.
-
Flip the opening pick sideways to pry up the motherboard cover.
-
-
이 단계에 사용된 도구:Tweezers$4.99
-
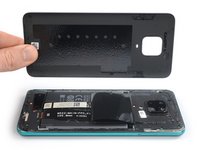
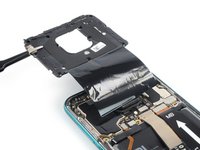
Use a pair of tweezers or your fingers to remove the motherboard cover.
-
-
-
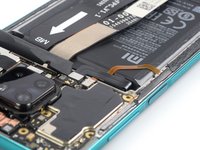
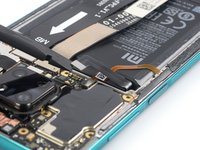
Use a spudger to disconnect the battery cable by prying the connector straight up from its socket.
-
-
-
Use a Phillips screwdriver to remove the seven 3.9 mm-long screws securing the loudspeaker assembly.
-
-
-
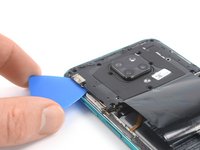
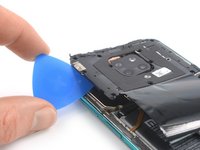
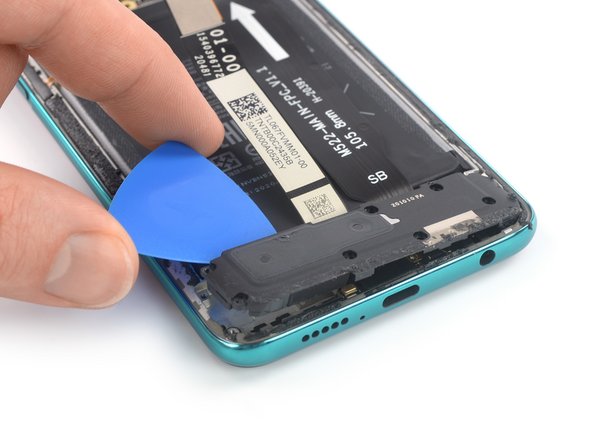
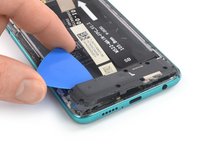
Insert an opening pick into the gap between the top edge of the loudspeaker assembly and the battery.
-
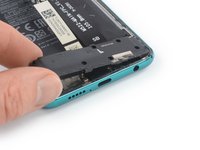
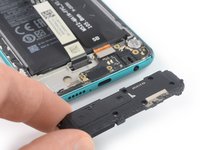
Use your opening pick to pry up the loudspeaker assembly.
-
-
-
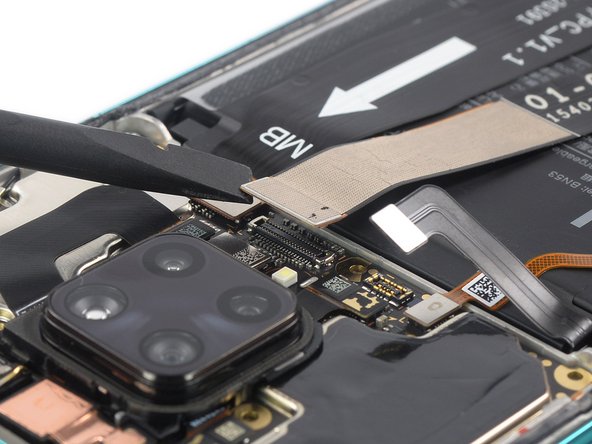
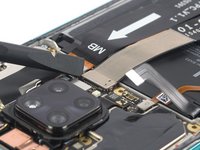
Use a spudger to disconnect the display cable by prying the connector straight up from its socket.
-
-
-
Apply a heated iOpener or a heat gun to the screen to loosen the adhesive underneath. Apply the iOpener for at least two minutes.
-
-
-
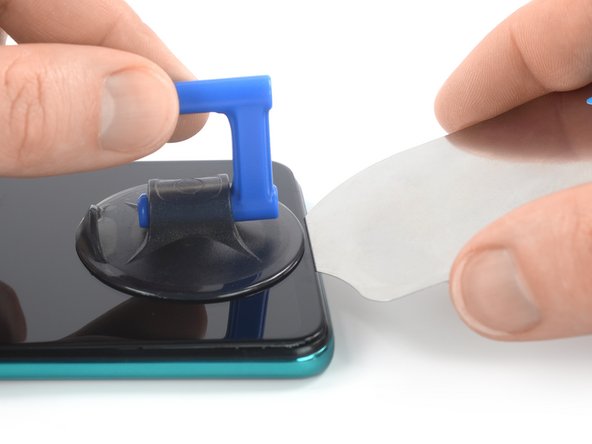
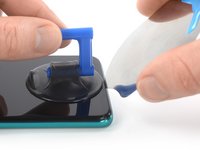
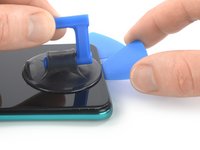
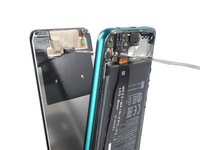
Once the screen is warm to touch, apply a suction handle to the bottom edge of the screen.
-
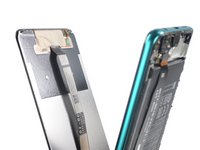
Lift the screen with the suction handle to create a small gap between the screen and the frame.
-
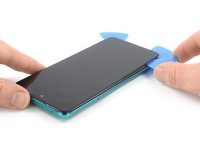
Insert an iFlex into the gap between the midframe and the screen.
-
-
-
Insert an opening pick above the iFlex.
-
Slide the opening pick to the bottom right corner of the screen to slice its adhesive.
-
Remove the iFlex.
-
Leave the opening pick in place to prevent the adhesive from resealing.
-
-
-
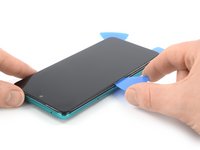
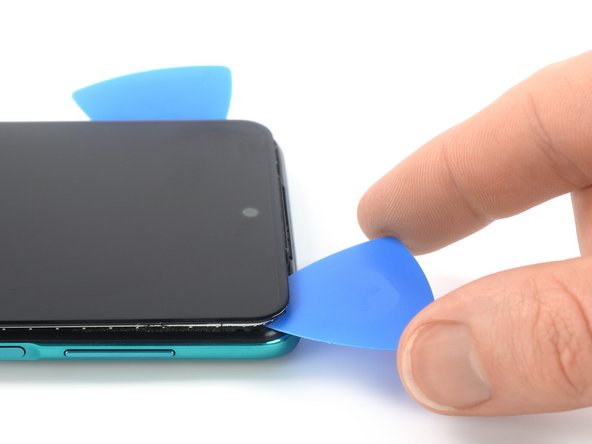
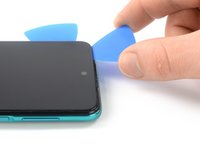
Insert a second opening pick at the bottom edge and slide it to the bottom left corner of the screen to slice the adhesive.
-
Leave the opening pick in place to prevent the adhesive from resealing.
-
-
-
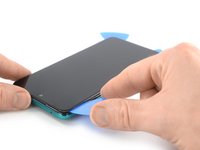
Insert a third opening pick underneath the bottom left corner of the screen.
-
Slide the opening pick along the left edge of the screen to slice the adhesive.
-
Leave it in the top left corner to prevent the adhesive from resealing.
-
-
-
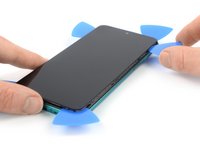
Insert a fourth opening pick at the top left corner of the screen.
-
Slide the opening pick along the top edge of the phone to slice the adhesive.
-
-
-
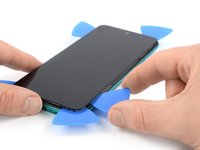
Insert a fifth opening pick and slide it along the right edge of the phone to slice the remaining adhesive.
-
-
-
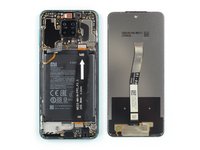
Thread the display flex cable through the gap in the midframe and remove the screen.
-


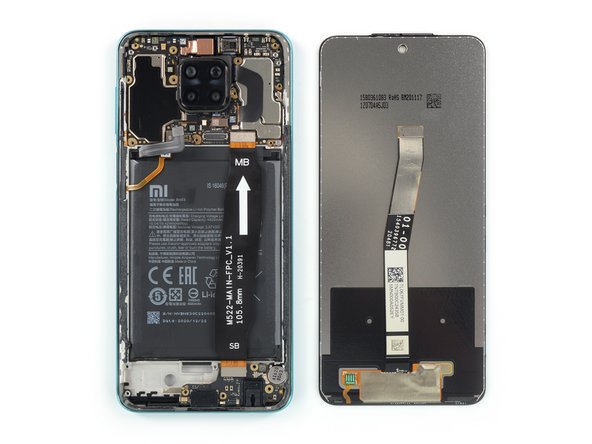
If possible, turn on your device and test your repair before installing new adhesive and resealing.
Compare your new replacement part to the original part—you may need to transfer remaining components or remove adhesive backings from the new part before installing.
To reassemble your device, follow these instructions in reverse order.
The best way to secure the new screen is to apply a sheet of custom-cut double-sided tape to the back of the screen.
Take your e-waste to an R2 or e-Stewards certified recycler.
Repair didn’t go as planned? Try some basic troubleshooting, or ask our Answers community for help.
다른 18명이 해당 안내서를 완성하였습니다.


4가이드 댓글
Man sollte vor dem zusammen bauen dringend drauf achten, dass auch Verbindungen die man nicht gelöst hat, wie z.b. Kabelverbindung zum unteren Lautsprecher, wirklich richtig sitzen, sonst darf man nach dem zu kleben feststellen dass der untere Lautsprecher nicht funktioniert 🤣😅😉😡😡😃😃
Teşekkür ederim faydalı bilgiler