소개
If your Sonos Roam is having battery issues such as not being able to hold a charge or not charging at all, then use this guide to replace the battery.
The battery is responsible for providing the energy that the speaker uses to function. It can be charged, store the energy, and provide energy when needed.
Before using this guide, make sure your current charger is compatible and you have the right USB cable. Also try rebooting the device.
There are steps that recommend (not require) the use of the iOpener. This will help with carefully removing the adhesive used to keep this device together. Refer to this link on how to properly use the iOpener.
필요한 것
-
-
-
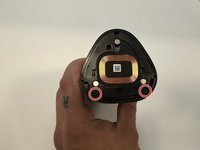
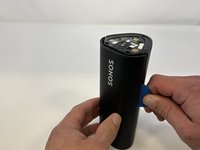
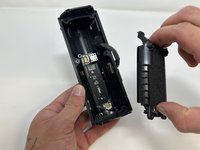
Use the metal spudger to pry the end cap with the buttons.
-
Pry from all sides to loosen the adhesive.
 FixBot에 문의하기
-
-
-
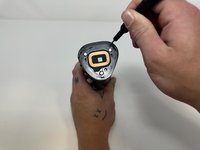
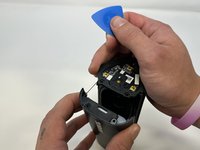
Flip the device to the other end cap.
-
Use the metal spudger to loosen the adhesive.
-
-
-
-
-
Flip the device so that the Sonos logo is on the top.
-
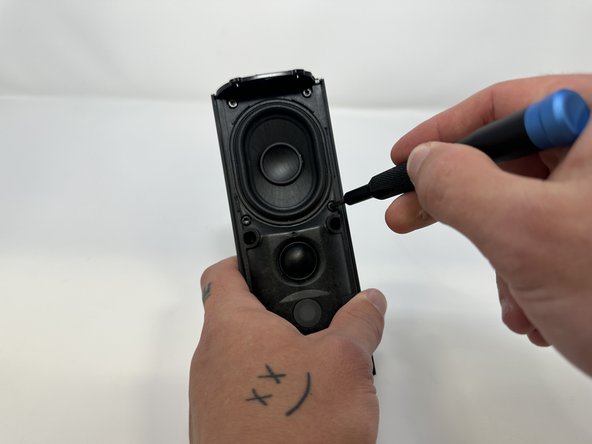
Use the Torx T6 screwdriver to remove the two 6 mm screws.
-
-
-
Flip the device so the Sonos logo is on the top.
-
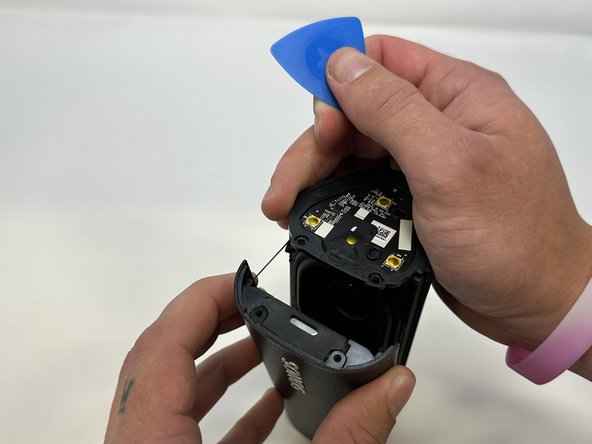
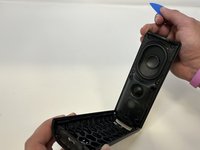
Use the iFixit opening picks to wedge between the split of the grille and the back of the speaker to pry the grille apart.
-
-
-
-
-
이 단계에 사용된 도구:Tweezers$4.99
-
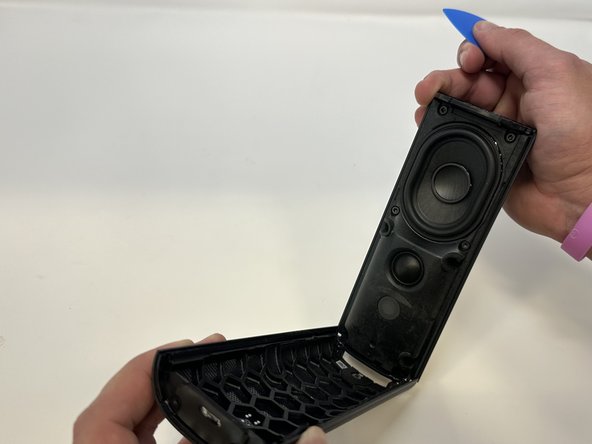
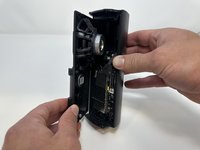
Begin to carefully separate the speaker module from the device.
-
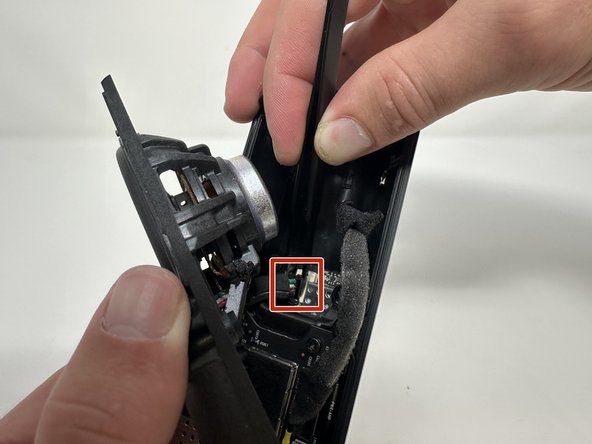
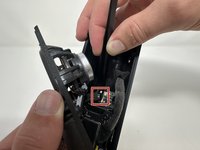
Firmly squeeze the middle of the plug using the tweezers to pull it out of the socket.
-
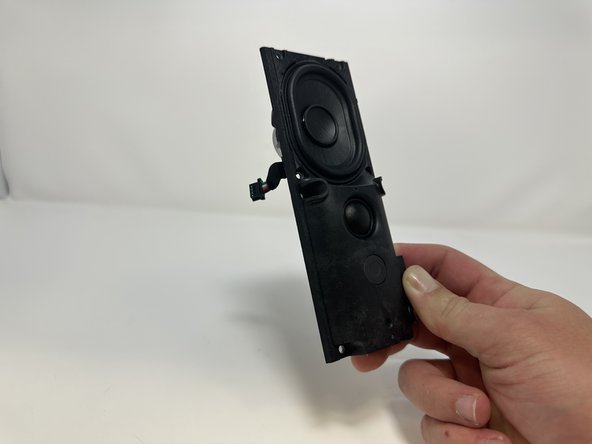
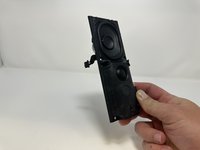
Separate the speaker module from the device.
-
-
-
-
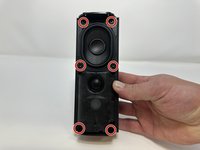
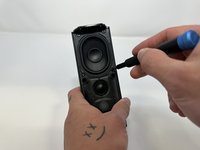
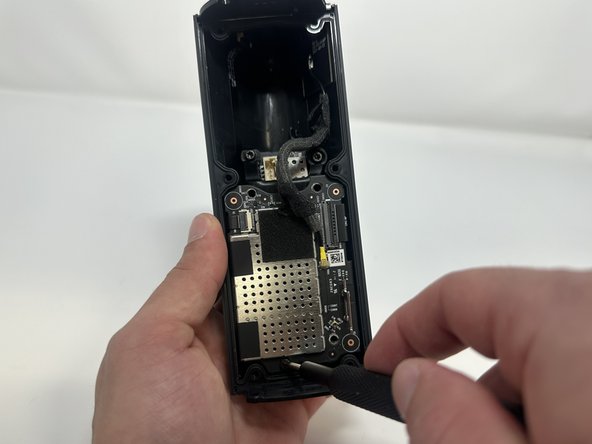
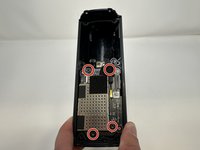
Use the TR10 Torx screwdriver to remove the four 7 mm screws.
-
-
이 단계에 사용된 도구:Tweezers$4.99
-
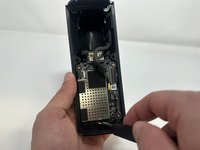
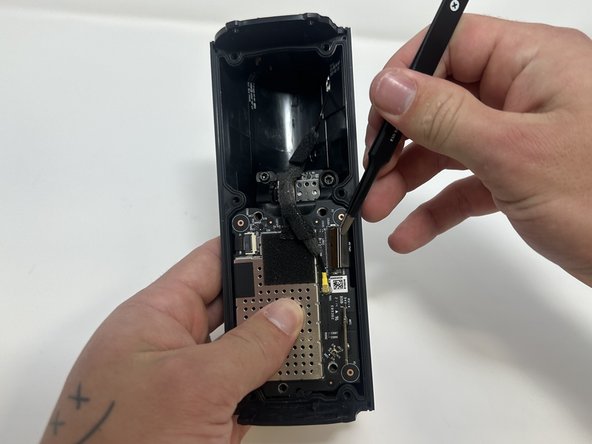
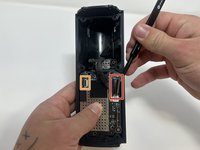
Use the tweezers to flip the latch holding the large ribbon in place.
-
Grab the large ribbon with the tweezers and pull upwards to remove it.
-
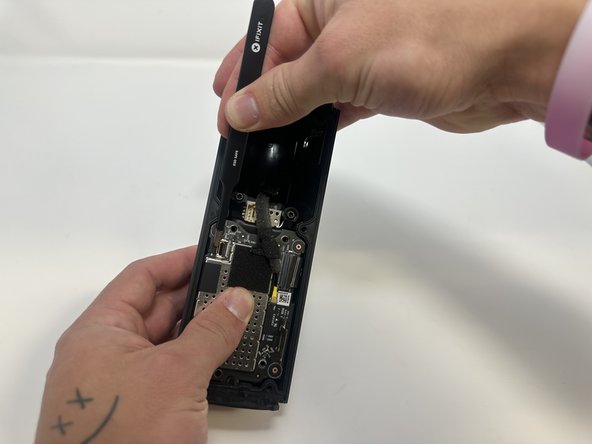
Use the tweezers to flip the latch holding the small ribbon in place.
-
Grab the small ribbon with the tweezers and pull upwards to remove it.
-
-
-
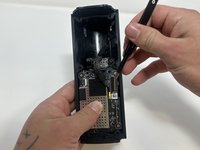
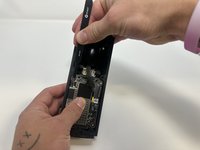
Grab the metal piece sticking out of the outer circuit board.
-
Pull upwards to remove the outer circuit board.
-
-
-
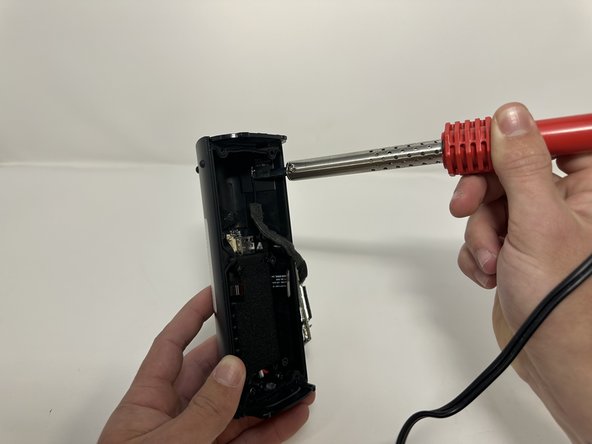
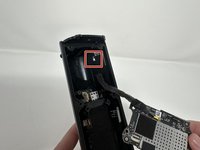
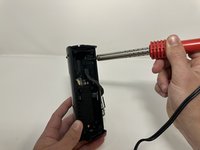
Use a soldering iron to desolder the outer circuit board from the speaker casing.
-
-
-
-
이 단계에 사용된 도구:Tweezers$4.99
-
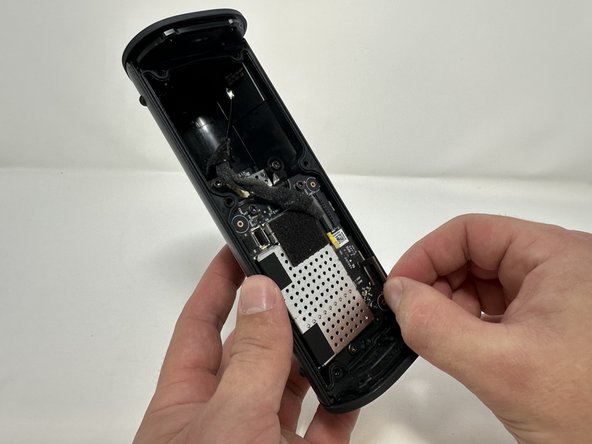
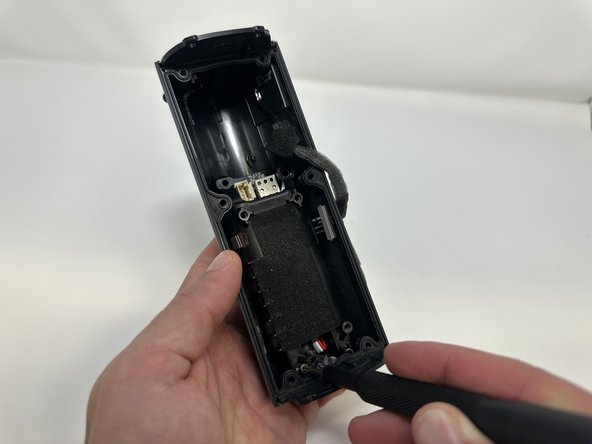
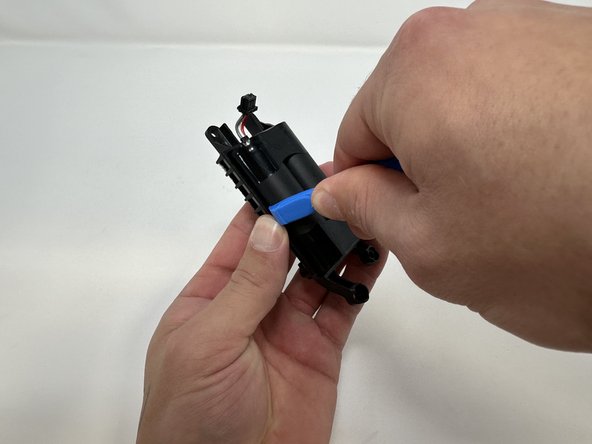
Use the tweezers to firmly squeeze the middle of the plug.
-
Pull the plug out to remove it from its socket.
-
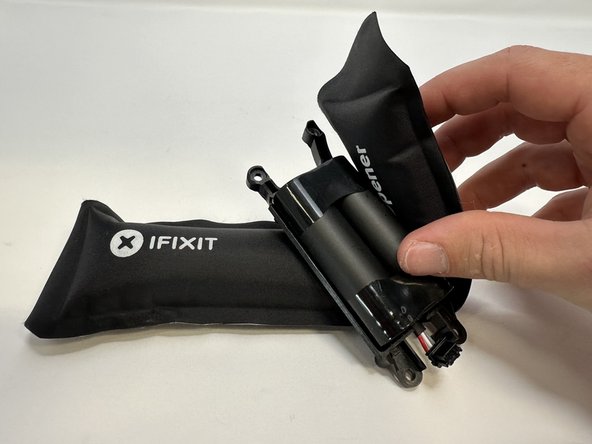
Remove the battery from the device.
-


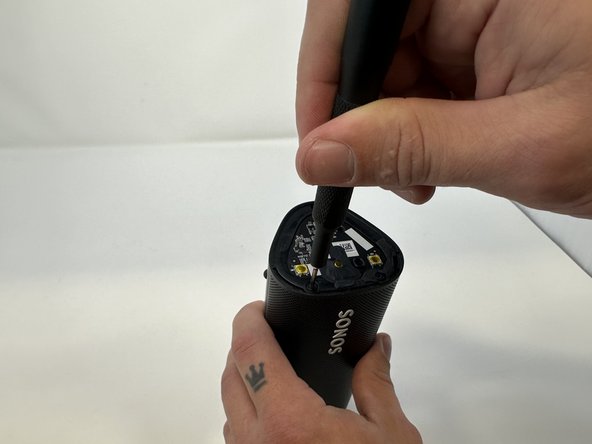
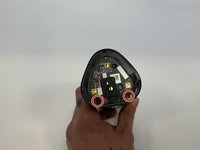
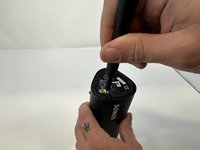

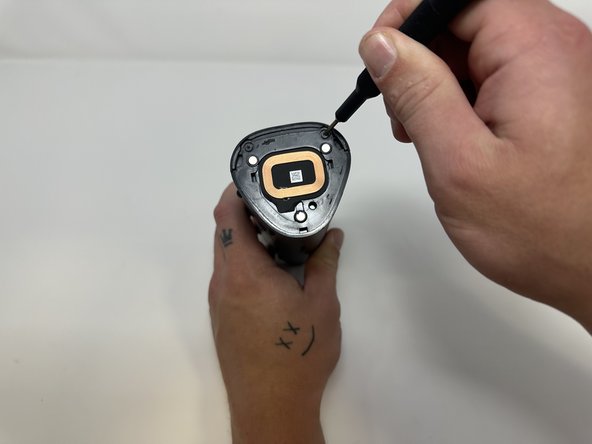







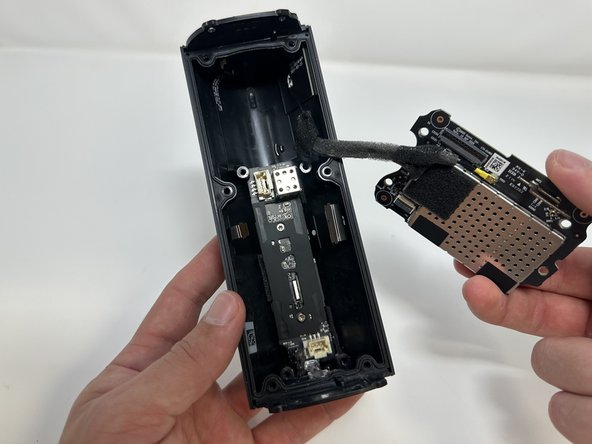
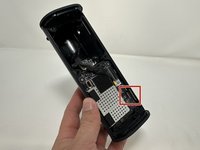
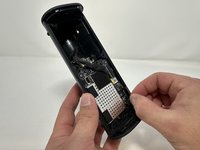
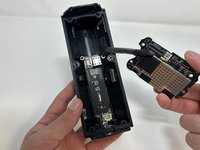


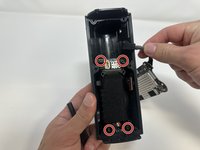
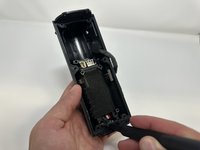

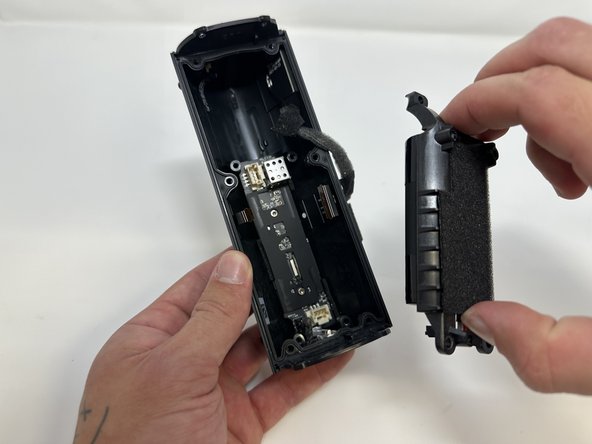
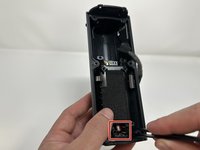

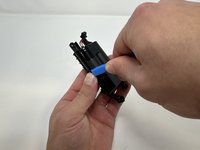
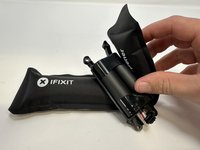

To reassemble your device, follow these instructions in reverse order.
다른 25명이 해당 안내서를 완성하였습니다.

팀

Utah Tech University, Team 1-2, McMurrin Fall 2023 Utah Tech University, Team 1-2, McMurrin Fall 2023 회원
UTAHTECH-MCMURRIN-F23S1G2
3 회원들
안내서 28개를 작성함
17가이드 댓글
The teardown was easy with these instructions, as was the re-assembly. I replaced the battery with one from AMAZON (they have a lot of them) but no joy - the problem appears too be with the PC board or defective switch - so I bought a new Sonos ROAM 2. Oh well - everything eventually obsoletes and Sonos offered no solutions out of warrantee. Next stop - rep[lace a 3TB fusion drive on an iMac.
Just completed this and speaker back to working - only issue i had was step 11 and the wire became disconnected form the board end, not the case - end. All good though as a resoldered it to the board. Was a little nervous about that as I know some boards can't take the heat from resoldering directly to the board. So far so good - enjoying my Jazz channel right now :)
