
Tefal Actifry Disassembly
We are going to remove the bottom casing of the Tefal Actifry to replace the motor that turns the chips when cooking.

-
-
This is the Tefal Actifry as it would sit when being used. You will need to turn it upside down to see the three security screws that need to be removed. I have circled them in red here. The next photo shows a closeup of one of the screws.
-
-
-
-
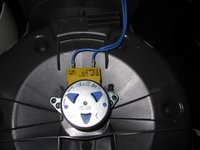
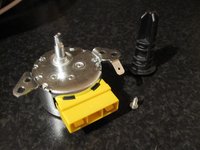
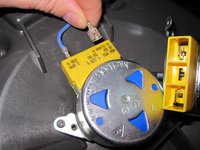
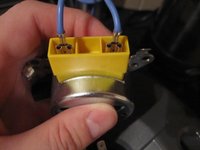
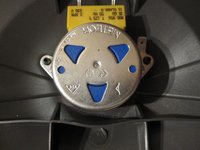
The motor is now exposed with the bottom cover removed. There are two security screws, the same size as the ones on the outside cover that need removed. There are two wires that need removed from the old motor and inserted into the new motor. The new can be secured in place and tightened with the screws.
-


To reassemble your device, follow these instructions in reverse order.
To reassemble your device, follow these instructions in reverse order.
다른 35명이 해당 안내서를 완성하였습니다.
댓글 35개
Thank you for the great guide. I'd like to mention a few things I discovered disassembling my actifry while following your instructions:
* the screws on my unit were regular torx - ie not security torx which have the pin in the middle that require bits with a corresponding hollow hole.
* the fan cover is made of very brittle plastic and is easy to break when trying to pry off.
* the fan cover is held by 3 tabs at the 9, 3, and 12'o clock positions. It is easiest to pry from the the tabs at 9 and 3'o clock positions.
Hi I've just fitted a new motor but now not getting hot. Do you think I need to replace element too? Also my friend has an actifry with same problem but can't find a motor for the model AL806240. Any ideas where she can get one. The wires seem to sit differently than mine. Thank you
This is what is happening to mine. I have replaced the motor and now the actifry is not heating… did you find the solution? Thanks
Thanks, saved time figuring out exactly how to do it - though you need a couple of more pictures in the guide. I had to deform the case a bit in order to clear over the fan otherwise it cannot slip over the fan - people be careful not to stress the fan assembly: you should slide the case without touching the fan.
In my case, the security screws *just* got unscrewed by a not-security screwdriver bit so I just replaced them with normal philips ones on reassembly.