주요 콘텐츠로 건너뛰기
수리 커뮤니티 가입 - 계정 만들기

iMac 2009-2010 SSD Replacement

단지 전제 조건
이 가이드는 전제 조건만을 다룹니다! 이 가이드는 다른 절차의 일부이며 단독으로 사용할 수 없습니다.

필요한 것

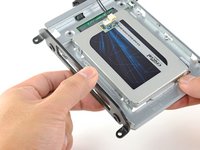
    1. iMac 2009-2010 SSD Replacement, Replace the hard drive with an SSD: 1 단계, 이미지 3개 중 1개 iMac 2009-2010 SSD Replacement, Replace the hard drive with an SSD: 1 단계, 이미지 3개 중 2개 iMac 2009-2010 SSD Replacement, Replace the hard drive with an SSD: 1 단계, 이미지 3개 중 3개
      • Follow the next steps if you are replacing your hard drive with an SSD kit.

      • If your SSD enclosure looks like the first image, follow this guide instead.

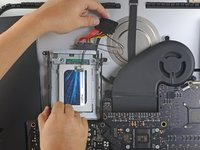
      • Line up the SSD connectors with the metal enclosure's sockets.

      • Press the drive against the enclosure sockets until the SSD is firmly seated.

      • The SSD connects with the enclosure in only one direction. If the connectors don't line up, rotate the SSD and try again.

      댓글 쓰기

    2. iMac 2009-2010 SSD Replacement: 2 단계, 이미지 3개 중 1개 iMac 2009-2010 SSD Replacement: 2 단계, 이미지 3개 중 2개 iMac 2009-2010 SSD Replacement: 2 단계, 이미지 3개 중 3개
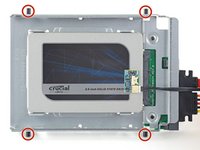
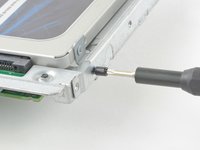
      • Use a Phillips screwdriver to install the four silver screws (two on each side) along the edges of the SSD to secure it to the enclosure.

      댓글 쓰기

    3. iMac 2009-2010 SSD Replacement: 3 단계, 이미지 2개 중 1개 iMac 2009-2010 SSD Replacement: 3 단계, 이미지 2개 중 2개
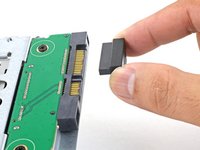
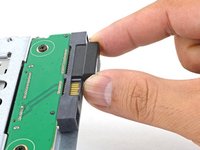
      • Plug the included sensor-enabled SATA power cable into the enclosure's port.

      • The cable is keyed to connect in only one orientation. If you can't connect the cable, rotate it 180° and try again.

      댓글 쓰기

    4. iMac 2009-2010 SSD Replacement: 4 단계, 이미지 3개 중 1개 iMac 2009-2010 SSD Replacement: 4 단계, 이미지 3개 중 2개 iMac 2009-2010 SSD Replacement: 4 단계, 이미지 3개 중 3개
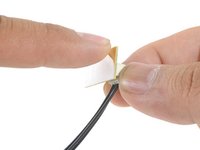
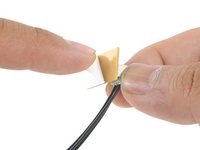
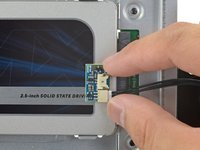
      • Peel the white liner off the back of the small temperature sensor board in order to expose the adhesive.

      • Adhere the temperature sensor board to an exposed, metal surface of the SSD, close to the SATA connector.

      • Fold the excess temperature sensor wires so that they are out of the way while you install the enclosure.

      댓글 쓰기

    5. iMac 2009-2010 SSD Replacement: 5 단계, 이미지 2개 중 1개 iMac 2009-2010 SSD Replacement: 5 단계, 이미지 2개 중 2개
      • Use a T8 driver to install the mounting pins from the old hard drive onto the sides of the enclosure.

      댓글 쓰기

    6. iMac 2009-2010 SSD Replacement: 6 단계, 이미지 2개 중 1개 iMac 2009-2010 SSD Replacement: 6 단계, 이미지 2개 중 2개
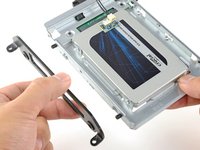
      • Attach any mounting brackets removed from the old hard drive onto the enclosure.

      댓글 쓰기

    7. iMac 2009-2010 SSD Replacement: 7 단계, 이미지 2개 중 1개 iMac 2009-2010 SSD Replacement: 7 단계, 이미지 2개 중 2개
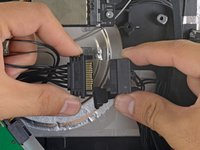
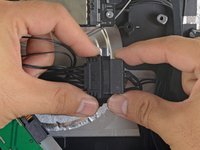
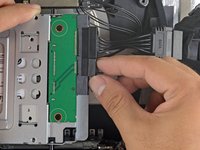
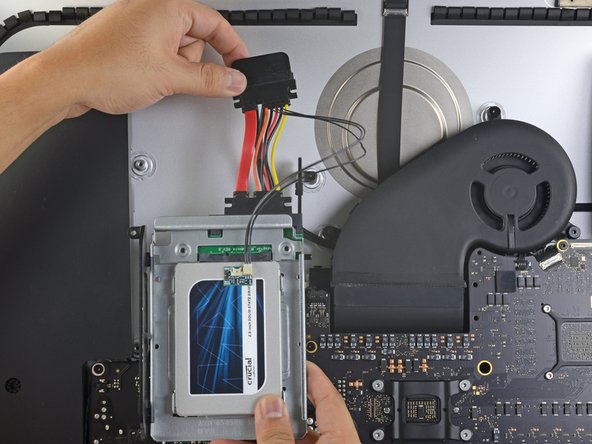
      • Connect the iMac's SATA power cable to the other end of the new sensor-enabled SATA cable.

      댓글 쓰기

    8. iMac 2009-2010 SSD Replacement: 8 단계, 이미지 2개 중 1개 iMac 2009-2010 SSD Replacement: 8 단계, 이미지 2개 중 2개
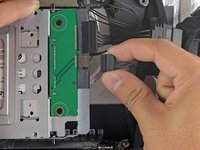
      • Connect the iMac's SATA data cable to the enclosure's socket.

      댓글 쓰기

    9. iMac 2009-2010 SSD Replacement: 9 단계, 이미지 3개 중 1개 iMac 2009-2010 SSD Replacement: 9 단계, 이미지 3개 중 2개 iMac 2009-2010 SSD Replacement: 9 단계, 이미지 3개 중 3개
      • The images used in this step come from a 2017 iMac. Your cables may look slightly different, but the procedure remains the same.

      • Slide the SSD enclosure into the space previously occupied by the hard drive.

      • Route the SATA cables so that they will not interfere with any other components.

      • Try to keep the cables free from any sharp bends, and route them such that they are not pinched.

      댓글 쓰기

    10. iMac 2009-2010 SSD Replacement: 10 단계, 이미지 3개 중 1개 iMac 2009-2010 SSD Replacement: 10 단계, 이미지 3개 중 2개 iMac 2009-2010 SSD Replacement: 10 단계, 이미지 3개 중 3개
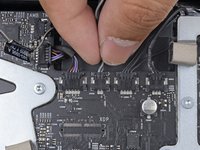
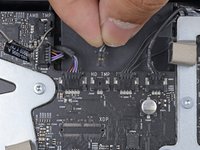
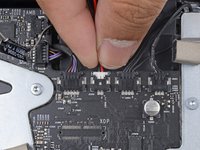
      • If your motherboard has a socket for a hard drive temperature sensor, follow this step to plug the sensor wires in.

      • Find the connector on the motherboard labeled HD TMP or HDD TEMP.

      • If you have trouble locating it, trace the two-wire temperature cable you disconnected from the old hard drive.

      • If the previous temperature cable is still connected to the board here, disconnect and remove it. You will no longer need it.

      • Connect the temperature sensor's two-wire red-black cable to the motherboard plug labeled HD TMP or HDD TEMP.

      • The connector is keyed to fit in only one orientation. If it doesn't fit one way, rotate it 180° and try again.

      • Route the excess wire so it does not interfere with any other components.

      댓글 쓰기

결론

To reassemble your device, follow these instructions in reverse order.

취소: 해당 안내서를 완성하지 않았습니다.

다른 4명이 해당 안내서를 완성하였습니다.

작성자

1다른 기여자 명과 함께

Arthur Shi

회원 가입일: 01/03/18

344,192 평판

안내서 915개를 작성함

iFixit iFixit 회원

Staff

123 회원들

안내서 32,283개를 작성함

0가이드 댓글

댓글 쓰기

조회 통계:

지난 24시간: 2

지난 7일: 22

지난 30일: 76

전체 시간: 8,166