소개
iPhone 6s 스크린 교체하는 방법을 알아보세요. 이 부품은 전면 카메라, 센서 어셈블리 및 EMI 쉴드가 이미 설치되어 있으므로 쉽게 수리할 수 있습니다.
이전 스크린을 분리하기만 하고 홈 버튼을 새 스크린으로 옮기기만 하면 Touch ID(지문 스캔)가 작동합니다.
필요한 것
-
-
분해를 시작하기 전에 iPhone 전원을 끄세요.
-
iPhone 하단 가장자리 Lightning 커넥터 옆에 위치한 3.4mm P2 Pentalobe/펜타로브/별나사 두 개를 풀어주세요.
-
-
-
디스플레이 유리가 깨진 경우 깨진 유리에 테입을 붙여서 수리 도중 추가 파손을 막고 신체적 상해를 방지하세요.
-
스크린 전체가 덮일 때까지 iPhone 디스플레이 위에 포장 테이프 스트립을 겹쳐 붙이세요.
-
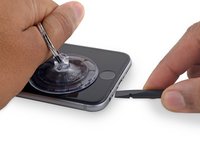
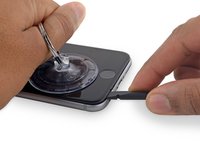
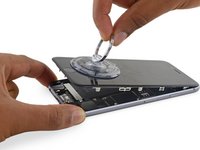
유리 파편으로 인해 다음 몇 단계에서 흡입 컵이 붙지않는 경우 강한 테이프를 (예: 강력 접착테이프) 접어서 손잡이를 만들어 디스플레이를 들어 올리세요.
-
-
이 단계에 사용된 도구:Clampy - Anti-Clamp$24.95
-
파란색 핸들을 뒤로 당겨 Anti-Clamp의 팔을 풀어 주세요 .
-
Anti-Clamp의 팔을 iPhone의 왼편 또는 오른편 가장자리로 밀어 주세요.
-
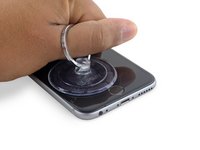
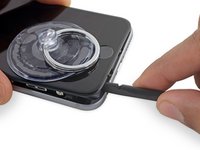
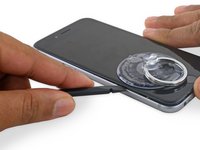
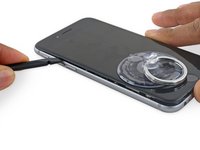
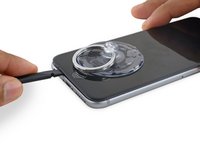
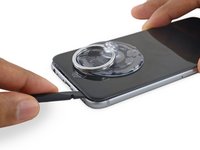
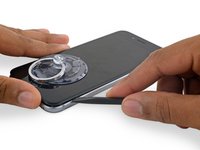
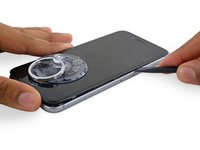
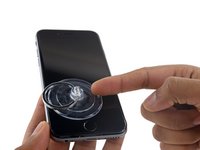
흡입 컵을 iPhone의 홈 버튼 바로 위 하단 가장자리 근처에 배치하세요—전면에 하나, 후면에 하나.
-
흡입 컵을 함께 눌러서 원하는 부위에 흡입하세요.
-
-
이 단계에 사용된 도구:Clampy - Anti-Clamp$24.95
-
-
이 단계에 사용된 도구:Magnetic Project Mat$19.95
-
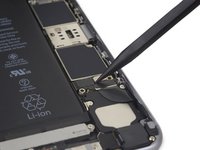
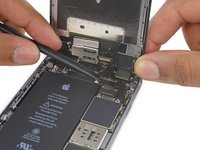
배터리 커넥터 브래킷을 고정하는, 다음 길이의, 십자 나사 두 개를 분리하세요:
-
2.9mm 나사 한 개
-
2.2mm 나사 한 개
-
-
-
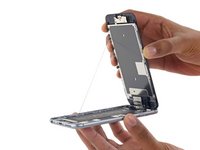
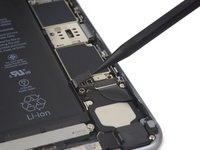
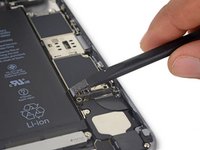
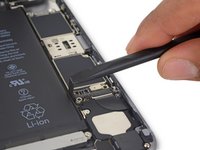
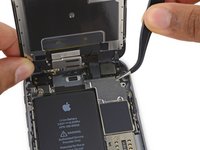
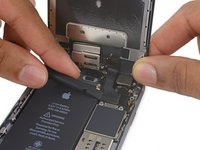
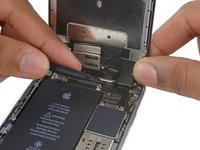
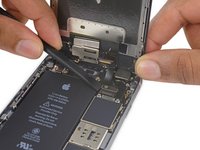
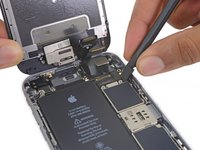
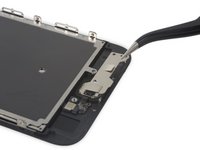
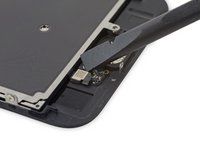
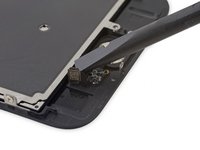
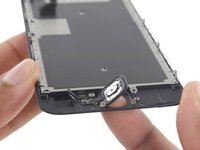
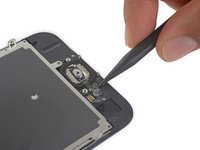
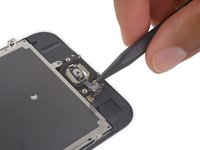
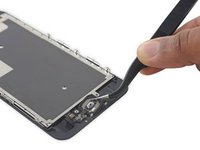
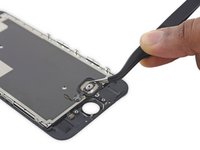
디스플레이 케이블 브래킷을 고정하는 Phillips/십자 나사 네 개를 분리하세요:
-
1.2mm 나사 세 개
-
2.8mm 나사 한 개
-


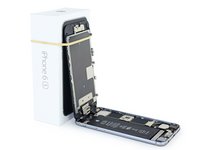


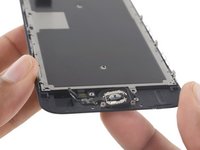


기기를 재조립하려면 다음 지침을 역순으로 따르세요.
다른 1401명이 해당 안내서를 완성하였습니다.
다음 번역가들에게 특별히 감사 드립니다:
100%

Christian Kim님은 저희가 세상을 수리하는데 동참하신 분입니다! 기여하시겠습니까?
번역 시작하기 ›


138가이드 댓글
Muito bom. Já aprendi muito consultando os tutoriais da IFIXIT. Parabéns.
Solution worked very well - a couple of comments: 1. With a cracked screen the suction cup doesn't hold very well, I was nevertheless able to get the screen corner off with some heavy prying above the headphone jack as suggested in step 4. 2. In the replacement part I received, the order of the digitizer and camera cables was reversed, I had to tuck the digitizer cable back under the camera cable to get them down in the correct order. Great pictures and guide from ifixit.
Agree with both points. The guide is also missing steps (or mention of) moving the camera/sensor/etc to the new digitizer. I didn't think about it until I wondered why the old screen had 3 cables and the new one only had 2.
Thanks for the tip, I had the same issue with the suction cup not working on the cracked screen. Applying clear packaging tape over the screen helped but it still didn't come apart. Ended up using a blow dryer on the highest setting to help melt the adhesive around the bottom of the phone (being careful to not let it heat up too long) which eventually made it possible to wedge the spudge inside.
The guide and photos were great along with the replacement part from iFixit. Probably the easiest screen replacement I've done so far.
gotchay -
Try putting packing tape in the center of the screen. This will keep the glass chunks in and the suction cup will stick to it.