이 버전에는 잘못된 편집 사항이 있을 수 있습니다. 최신 확인된 스냅샷으로 전환하십시오.
필요한 것
-
-
분해를 시작하기 전에 iPhone 전원을 끄세요.
-
iPhone 하단 가장자리 Lightning 커넥터 옆에 위치한 3.4mm P2 Pentalobe/펜타로브/별나사 두 개를 풀어주세요.
-
-
-
파란색 핸들을 뒤로 당겨 Anti-Clamp의 팔을 풀어 주세요 .
-
Anti-Clamp의 팔을 iPhone의 왼편 또는 오른편 가장자리로 밀어 주세요.
-
흡입 컵을 iPhone의 홈 버튼 바로 위 하단 가장자리 근처에 배치하세요—전면에 하나, 후면에 하나.
-
흡입 컵을 함께 눌러서 원하는 부위에 흡입하세요.
-
-
-
-
배터리 커넥터 브래킷을 고정하는, 다음 길이의, 십자 나사 두 개를 분리하세요:
-
2.9mm 나사 한 개
-
2.2mm 나사 한 개
-
-
이 단계는 번역되지 않았습니다. 번역을 도와주십시오
-
Use the point of a spudger to lift and disconnect the antenna cable from the bottom end of the logic board.
-
-
이 단계는 번역되지 않았습니다. 번역을 도와주십시오
-
Use the point of a spudger to lift up and disconnect the Lightning connector ribbon cable from its socket on the logic board.
-
-
이 단계는 번역되지 않았습니다. 번역을 도와주십시오
-
Use the point of a spudger to lift and disconnect the antenna cable from its socket near the top of the logic board.
-
-
이 단계는 번역되지 않았습니다. 번역을 도와주십시오
-
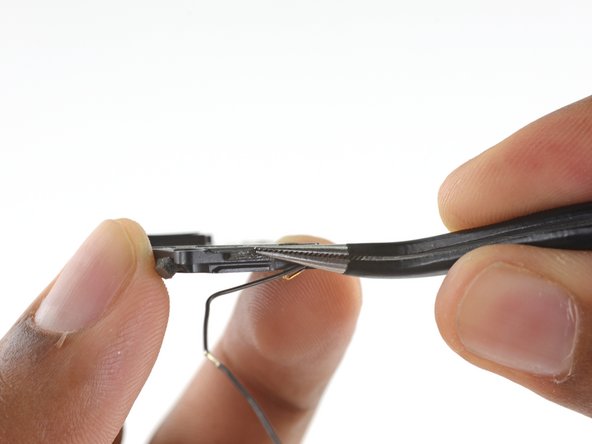
Carefully lift the antenna cable and de-route it from the edge of the phone. Use the point of a spudger to help lift the cable to free it from the retaining clips.
-
-
이 단계는 번역되지 않았습니다. 번역을 도와주십시오
-
Remove the following Phillips screws securing the speaker to the rear case:
-
Two 2.6 mm screws
-
One 2.3 mm screw
-
One 2.3 mm screw
-
One 3.0 mm screw
-
-
이 단계는 번역되지 않았습니다. 번역을 도와주십시오
-
Insert the flat end of a spudger between the long edge of the speaker module and the case wall.
-
Pry gently to loosen the speaker module.
-
Once the module is loose, lift and remove the speaker module from the phone.
-
-
이 단계는 번역되지 않았습니다. 번역을 도와주십시오
-
Prepare an iOpener and lay it over the antenna to soften the adhesive securing it to the speaker.
-
Use a plastic opening pick to break up the adhesive securing the antenna to the speaker.
-


다른 59명이 해당 안내서를 완성하였습니다.


댓글 10개
Skip steps 16 to 34. Those steps are unnecessary and are added work. Make sure you prop up the front display securely.
benandem98 - 답글
The steps as posted in this guide are far too cumbersome. This fix is super easy.. here you go
1) Complete Steps 1-15 as shown
2) Scroll all.... the way down
3) Pick it back up at step 34-53 **before putting your new speaker back in, just give the ports a cleaning with a toothpick or the tweezers provided by iFixit.
Total time was maybe 30 mins.. It's easy no worries
Is iPhone 6 Speaker compatible with an iPhone 6S?