주요 콘텐츠로 건너뛰기

Remplacement de la plaque de protection de l'écran LCD de l'iPad mini 3

알림: 귀하는 선행 작업 안내서를 편집하고 계십니다. 변경된 사항들은 이 선행 작업 단계를 포함하는 안내서 48개에 영향을 미칩니다.

영어
프랑스어
16 단계
iPad Mini 3 Wi-Fi LCD Shield Plate Replacement: 0 단계, 이미지 2개 중 1개 iPad Mini 3 Wi-Fi LCD Shield Plate Replacement: 0 단계, 이미지 2개 중 2개
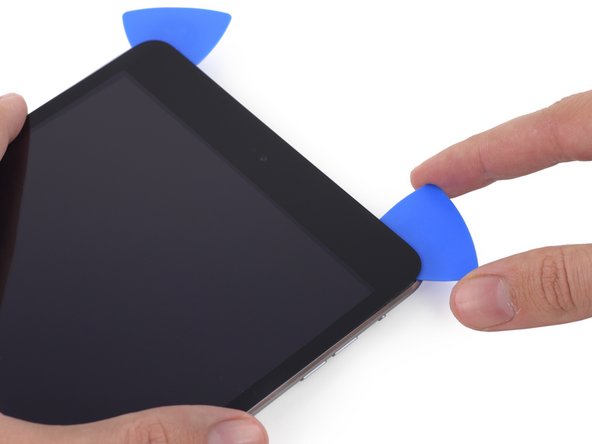
  • Slide the top right opening pick around the corner to fully release the top edge of the glass.

  • Leave this pick in place to keep the adhesive from re-sealing itself, and grab a new pick for the next step.

Faites glisser le médiator supérieur droit autour du coin pour décoller complètement le bord supérieur du verre.

Laissez ce médiator en place pour empêcher l'adhésif de recoller et prenez un nouveau médiator pour l'étape suivante.

귀하의 기여는 오픈 소스 Createive Commons 라이선스 하에 허가되었습니다.