소개
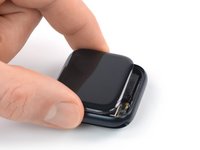
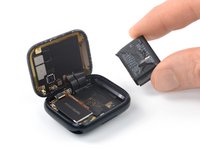
Use this guide to replace a broken, cracked, or defective screen on your Apple Watch Series 8.
It is possible to replace the screen of the Apple Watch Series 8 without removing or disconnecting the battery first. However, this can lead to a malfunction of the NFC antenna under certain circumstances. If you feel comfortable with your repair, skip the battery removal steps in this guide. Otherwise, follow this guide in it‘s original order.
Replacing the display can cause issues with Apple Pay. If possible, to reduce the likelihood of problems, delete all your Apple Pay account info before the replacement, and then re-enter it with the new display installed.
This guide shows the procedure on the 45 mm cellular/LTE version of the watch, but the GPS-only version is similar.
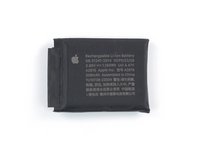
You’ll need replacement adhesive to reattach the battery and the screen when reassembling the device.
필요한 것
-
-
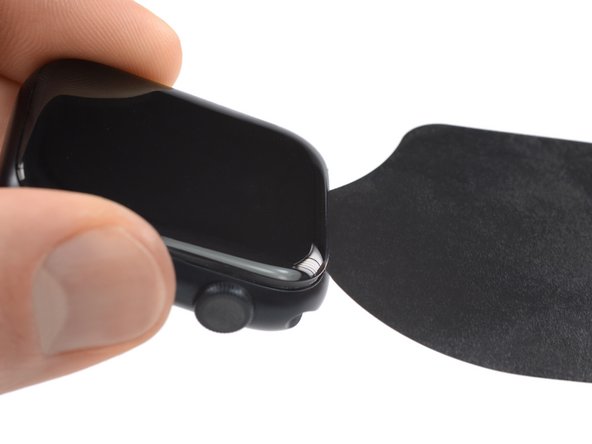
Prepare an iOpener and apply it to the screen for three minutes to loosen the adhesive underneath.
-
-
-
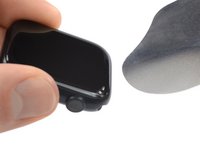
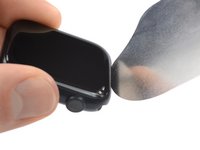
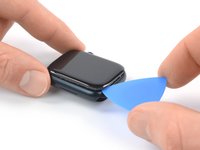
Insert the iFlex into the thin gap between the display and frame at the edge adjacent to the digital crown.
-
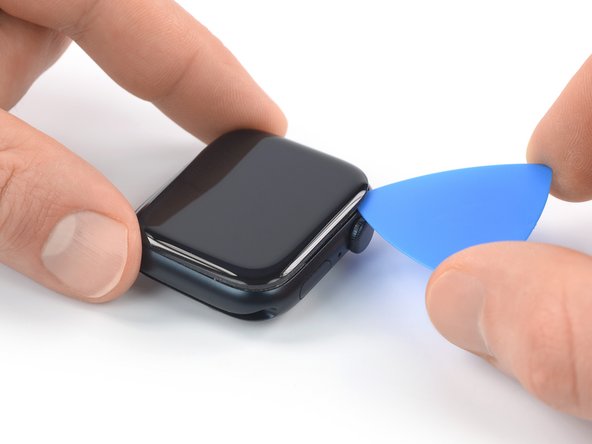
Tilt the iFlex down to pry the display open slightly and create a gap between the screen and the watch body.
-
-
-
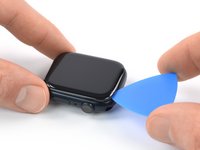
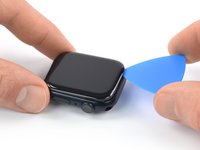
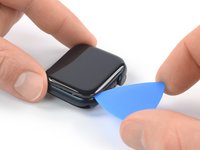
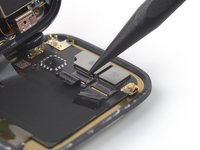
Insert the tip of an opening pick into the gap you just created.
-
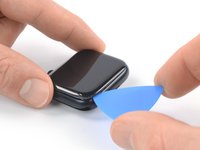
Slide the opening pick along the short edge of the watch to slice the adhesive.
-
-
-
-
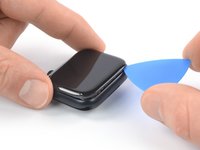
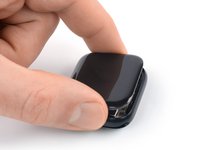
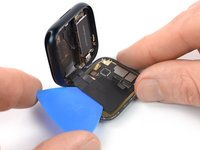
Lift the display and carefully pull it towards the watch crown.
-
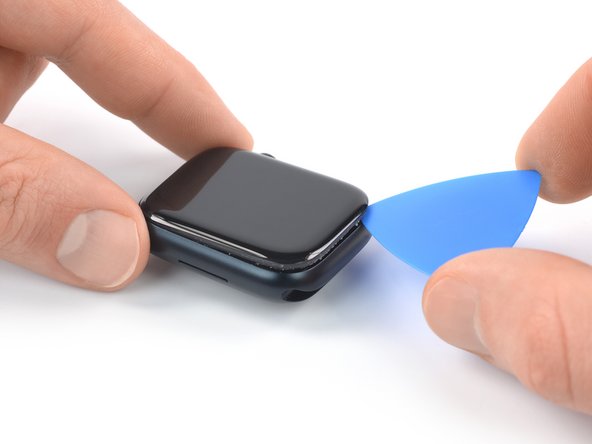
Swing the display open to an upright position.
-
-
-
Prepare an iOpener and apply it to the rear glass for two minutes to loosen the adhesive underneath the battery.
-
-
-
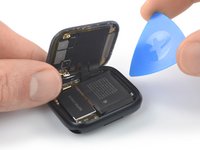
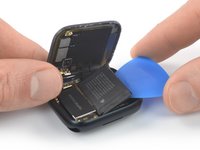
Insert an opening pick into the gap between the watch body and the long edge of the battery.
-
Use constant, steady pressure to slowly pry up the battery.
-
-
-
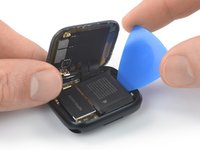
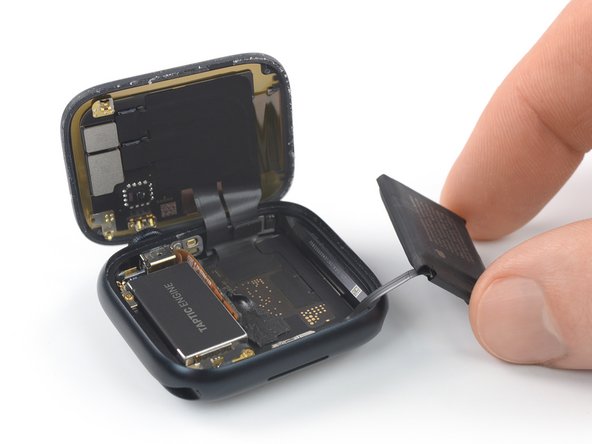
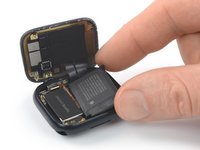
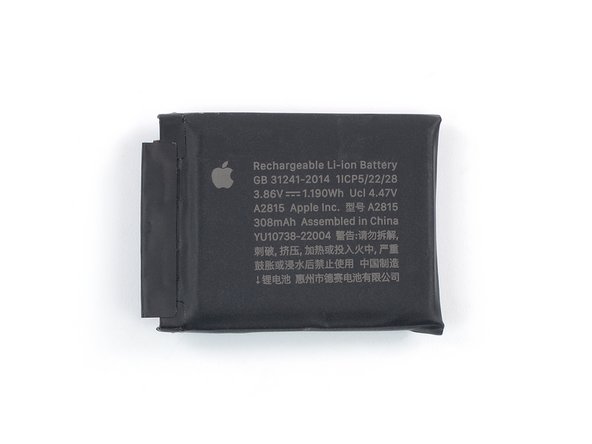
Carefully lift the battery out of its recess and place it next to the watch body.
-
-
-
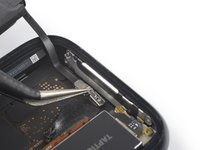
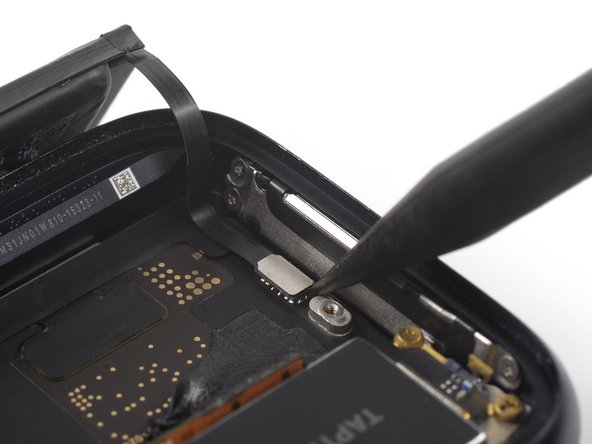
Use a Tri-Point Y000 screwdriver to remove the 1.1 mm-long screw securing the battery connector bracket.
-
-
이 단계에 사용된 도구:Tweezers$4.99
-
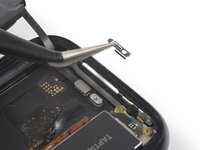
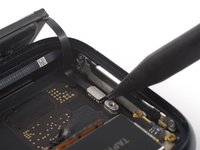
Use a pair of tweezers to remove the battery connector bracket.
-
-
-
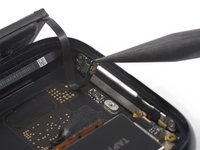
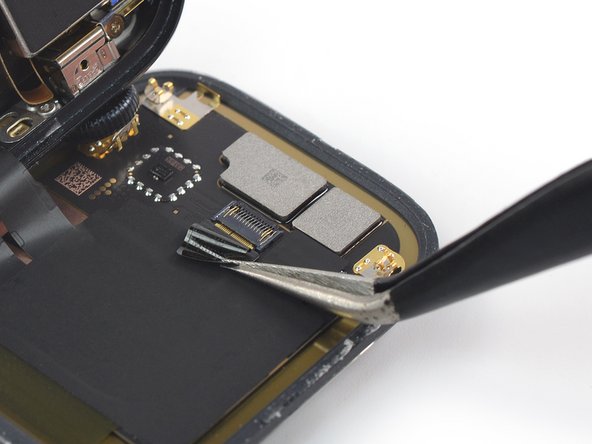
Use the pointed end of a spudger to disconnect the battery cable by prying the connector straight up from its socket.
-
-
이 단계에 사용된 도구:Tweezers$4.99
-
Use a pair of tweezers to peel the black protective tape off both display connectors.
-
-
-
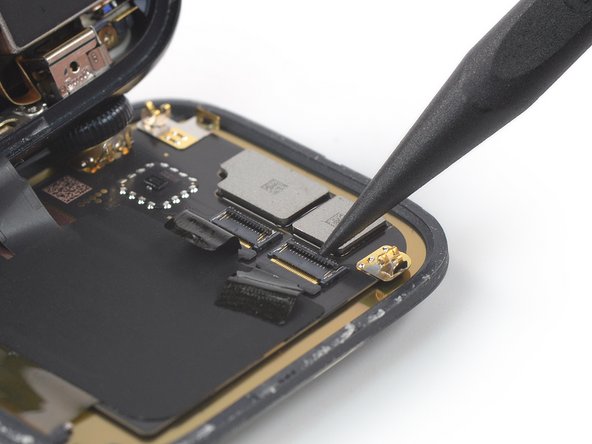
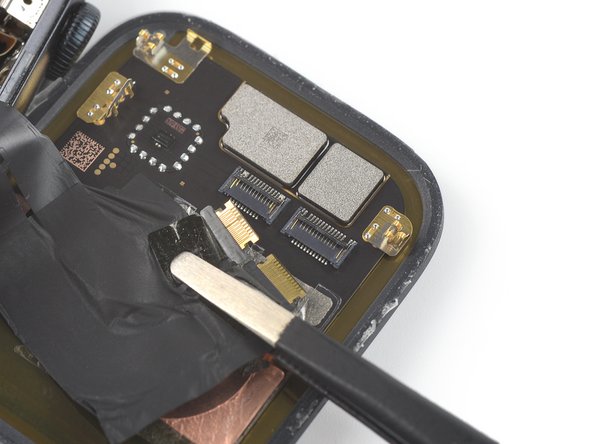
Use the tip of a spudger to flip up the small, hinged locking flap on the display ZIF connectors.
-
-
-
Prepare an iOpener and apply it to the screen for two minutes to loosen the heat dissipation tape underneath.
-
-
-
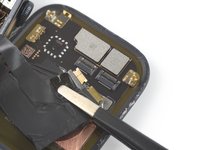
Slide an opening pick underneath the display cables to separate them from the screen.
-
-
-
Use a pair of blunt nose tweezers to pull both display cables out of the ZIF connectors.
-


If possible, turn on your device and test your repair before installing new adhesive and resealing.
To reassemble your device, follow these instructions in reverse order.
Take your e-waste to an R2 or e-Stewards certified recycler.
Repair didn’t go as planned? Check out our Answers community for troubleshooting help.
다른 3명이 해당 안내서를 완성하였습니다.

