
Dell XPS 15 9575 Fan Replacement
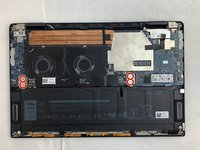
This guide shows the process of how to replace the fan of the Dell XPS 15 9575.
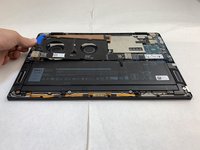
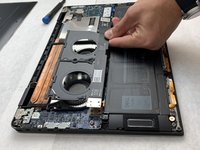
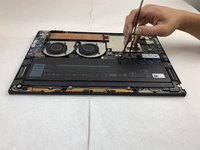
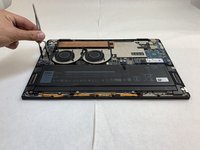
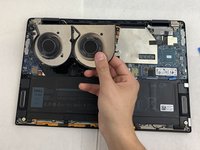
Both fans on this device have covers that are integrated into the interconnect cable, so its removal will be necessary for the fan replacement. However, Step 5 of the guide details removing the pin connectors for this cable, and their removal isn’t necessary for a quick fan swap.
The fans are responsible for offsetting the heat produced by processing units of the laptop. This means it should be relatively easy to diagnose problems with the fans, as the device will produce excessive heat as a result. If your device is producing noticeably excessive heat on a regular basis, you should replace the fan sooner rather than later, as heat in excess has the potential to damage the components that produce it. A faulty fan could also be responsible for excessive noise, and users may choose to replace such a fan to reduce noise even if heat is not experienced.
Check out the Dell XPS 9575 Troubleshooting page for more help narrowing down your issues to the fan.


-
-
Use your T5 Torx driver to remove all eight 3.2 mm screws holding down the back panel.
-
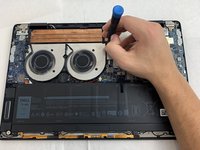
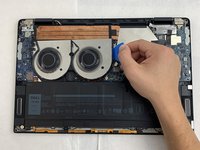
Wedge an opening pick between the back cover and the base of the board, then slightly lift the tool to pop the clips on the back cover off.
-
-
-
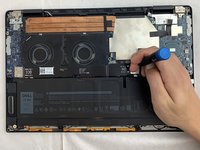
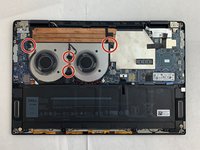
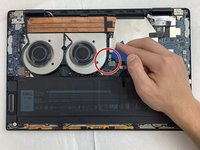
Use the Phillips #0 screwdriver to remove all four silver 3.2 mm screws fastening the interconnect cable.
-
-


To reassemble your device, follow these instructions in reverse order.
To reassemble your device, follow these instructions in reverse order.
다른 한 분이 해당 안내서를 완성하였습니다.
팀

Embry-Riddle Aeronautical University, Team S1-G1, Watkins Fall 2019 Embry-Riddle Aeronautical University, Team S1-G1, Watkins Fall 2019 회원
ERAU-WATKINS-F19S1G1
4 회원들
안내서 16개를 작성함