
MacBook Pro 13" Touch Bar Late 2016 Trackpad Replacement

If your trackpad is faulty or needs to be removed for easier access to the battery, follow this guide.
For your safety, discharge your MacBook Pro's battery before you begin this procedure. A charged lithium-ion battery can create a dangerous and uncontrollable fire if accidentally punctured.
필요한 것
부품


도구


더보기...
-
-
Power on your Mac and launch Terminal.
-
Copy and paste the following command (or type it exactly) into Terminal:
-
sudo nvram AutoBoot=%00
-
Press [return]. If prompted, enter your administrator password and press [return] again. Note: Your return key may also be labeled ⏎ or "enter."
-
sudo nvram AutoBoot=%03
-
-
이 단계에 사용된 도구:Magnetic Project Mat$19.95
-
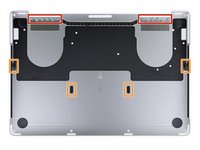
Use a P5 Pentalobe driver to remove the six screws securing the lower case:
-
Two 6.2 mm screws
-
Four 3.4 mm screws
-
-
-
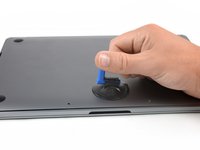
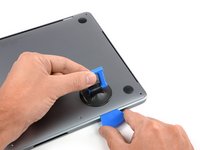
Apply a suction handle to the lower case near the front-center area of the MacBook Pro.
-
Lift the suction handle to create a slight gap between the lower case and the chassis.
-
-
-
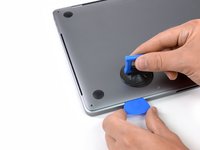
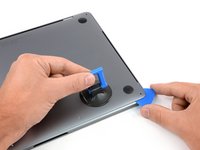
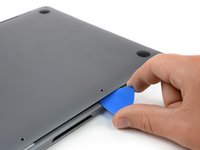
Insert one corner of an opening pick into the space between the lower case and the chassis.
-
Slide the opening pick around the nearest corner and halfway up the side of the case.
-
-
-
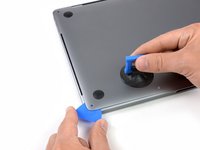
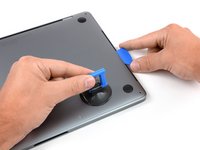
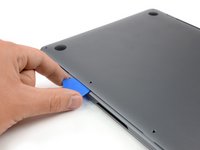
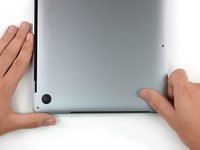
Insert your opening pick once again under the front edge of the lower case, near one of the two centermost screw holes.
-
Give the pick a firm twist to pop free the third clip securing the lower case to the chassis.
-
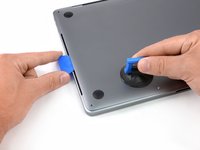
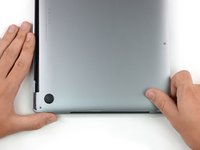
Repeat this procedure near the other of the two centermost screw holes, popping the fourth clip free.
-
-
-
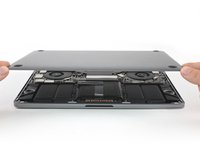
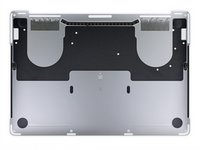
Remove the lower case.
-
Set it in place and align the sliding clips near the display hinge. Press down and slide the cover toward the hinge. It should stop sliding as the clips engage.
-
When the sliding clips are fully engaged and the lower case looks correctly aligned, press down firmly on the lower case to engage the four hidden clips underneath. You should feel and hear them snap into place.
-
-
-
-
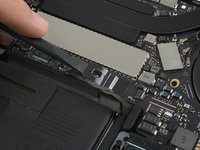
Carefully peel up the large piece of tape covering the battery connector, on the edge of the logic board nearest the battery.
-
Remove the tape.
-
-
-
Use a spudger to gently lift the battery power connector, disconnecting the battery.
-
Lift the connector high enough so that it stays separated from its socket. If it accidentally makes contact during the course of your repair, it could damage your MacBook Pro.
-
-
-
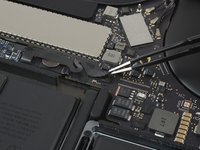
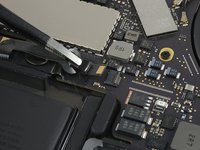
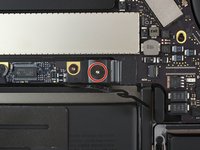
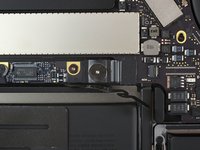
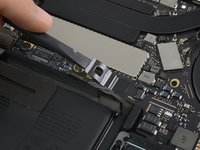
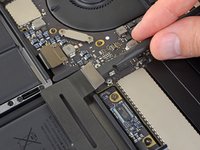
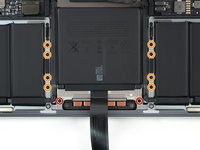
Use a T3 Torx driver to remove the two 1.8 mm screws securing the trackpad cable connector bracket.
-
-
-
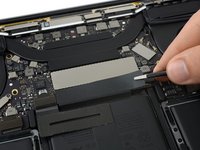
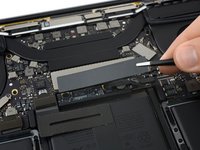
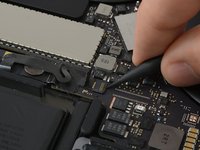
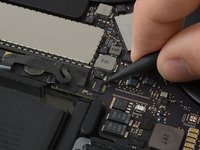
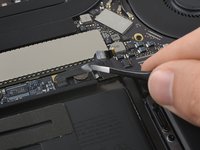
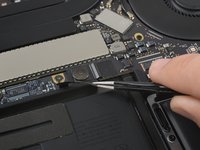
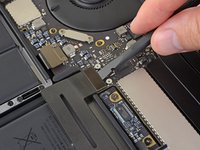
Use a spudger to disconnect the trackpad ribbon cable by gently prying its connector straight up from the logic board.
-
-
-
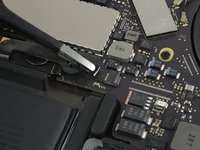
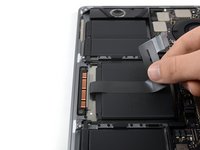
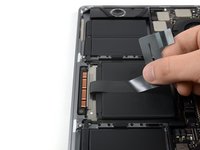
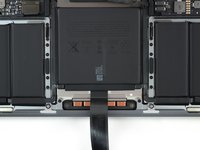
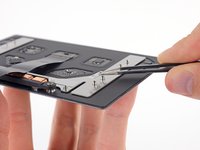
Prepare an iOpener and lay it on top of the trackpad ribbon cable for about a minute, in order to soften the adhesive securing the trackpad ribbon cable to the top of the battery.
-
If you don't have an iOpener, use a hair dryer to warm up the cable instead. The cable should be warm, but not too hot to touch. Be careful not to overheat the battery.
-
-
-
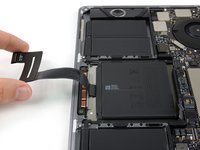
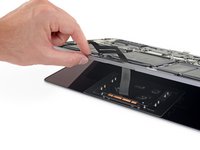
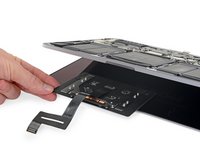
Carefully peel the trackpad ribbon cable up off the battery, and push it out of the way.
-
-
-
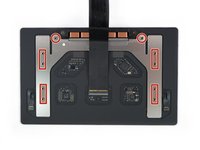
Use a T5 Torx driver to remove the ten screws securing the trackpad assembly:
-
Two 4.3 mm screws
-
Eight 5.8 mm screws
-
-
-
Remove the trackpad assembly.
-
Be sure not to lose the six small washers (two circular and four rectangular) resting on the underside of the trackpad.
-


To reassemble your device, follow these instructions in reverse order.
To reassemble your device, follow these instructions in reverse order.
다른 4명이 해당 안내서를 완성하였습니다.

팀

Tobias Isakeit - Repairability Engineer Tobias Isakeit - Repairability Engineer 회원
Business
1 회원
안내서 1,131개를 작성함
댓글 2개
Great guide. Thanks for posting. One thing it assumes however, is that the replacement trackpad you’re using came with a data cable (i.e. there is no Step 23 regarding removing the data cable from the old trackpad and re-using it). I’m not sure if it’s always been this way, but the replacement trackpads iFixit sells now for this laptop do not come with a data cable. I had to re-use the data cable from the old trackpad. It wasn’t too difficult to pull the cable up and out of the connector on the old trackpad, and there is no locking tab or anything to flip up to remove it. But it was hard to get the cable back into the connector on the new trackpad with the left over adhesive and the angle of the connector. I was able to get it connected after a few careful attempts, and the trackpad works after re-assembly. Maybe in the past, the replacement trackpads iFixit sold came with a new data cable attached, but it’s worth noting that they currently do not, and you have to supply one.
there is no locking tab or anything to flip up to remove it
Actually, the grey bar is a locking tab-the cable might work if you just pull it/shove it in, but do yourself a favor and flip it up with a spudger like other locking tabs. I tried shoving it but neither the touchpad or keyboard worked when i did that
Spider -