
Oral-B Black 7000 Motor Replacement
The motor powers the rotating head of the toothbrush. If it is damaged or wears out due to use, it will need to be replaced. Some steps in this procedure require desoldering connections. For a review of soldering techniques, check out this How to Solder Guide.


-
-
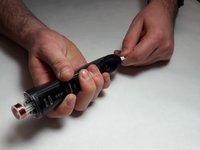
Use the charging station to remove the a small plastic plug from the end of the toothbrush by inserting the charging station into the end insert and twisting counter-clockwise by 90 degrees.
-
-
-
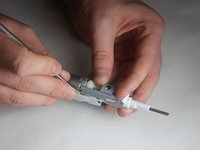
Use a spudger to loosen the two plastic tabs next to the induction coil that secure the internal assembly to the frame.
-
Push on the rotating head in order to pop the assembly out of the black plastic casing.
You need to release the induction coil’s plastic clips before you try to slide it out! This is a key missing step.
I agree with Matthew. You must insert a spudger and release the plastic clips while pressing down on the rotating head. I held the rotating head with a pair of pliars and then released the plastic clips and it popped right out.
i third that, this needs to be added ASAP, you have no chance of getting it out without unclicking those two latches that lock the inner assembly to the outer casing.
I'd recommend changing this to say where these tabs are. Basically, you insert the spudger between the left and right side plastic arms/tabs going to the coil assembly and the body. If you have light pressure applied to the head at the right time, you'll feel them move when you insert a spudger and put a tiny bit of leverage.
You can see these tabs most easily in step 7. The tab shown in the second photo doesn't really have anything to do with anything (maybe that's the ill-advised leverage method).
-
-
-
이 단계에 사용된 도구:Tweezers$4.99
-
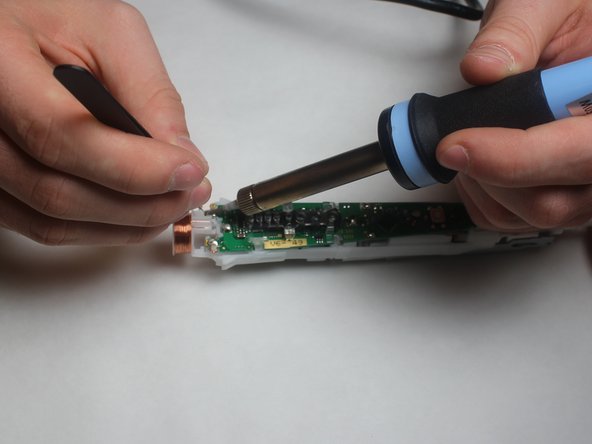
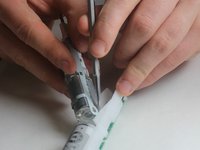
Unwrap the ends of the wires from the white plastic pegs using a pair of tweezers.
Unnecessary step for battery replacement! The electrode of the battery is solely the single solder point in the middle and the battery comes out just as well if you just leave the coil. If all you want is to replace the battery. just leave the coil, It’s fiddly and risky to break the wire and more work, only disadvantages. Good efforts!
I'm not doing this right now, but thank you!
Achtung dieser Schritt ist für den reinen Akkutausch unnötig und quasi falsch! Die Spule kann verbleiben, der Akku ist einzig die einzelne mittige Lötstelle!
-
-
이 단계에 사용된 도구:Tweezers$4.99
-
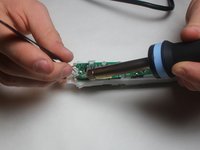
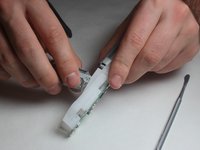
Use a pair of tweezers to remove the plastic housing and the LED from the device.
-
-
-
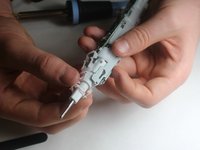
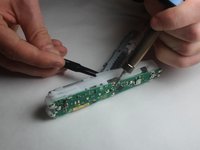
Remove the motor housing from the plastic casing. This can be accomplished by using the nylon spudger to pry the motor housing out of the supporting structures.
-


To reassemble your device, follow these instructions in reverse order.
To reassemble your device, follow these instructions in reverse order.
다른 한 분이 해당 안내서를 완성하였습니다.
팀

IUPUI, Team S1-G1, Harley Fall 2017 IUPUI, Team S1-G1, Harley Fall 2017 회원
IUPUI-HARLEY-F17S1G1
3 회원들
안내서 16개를 작성함
댓글 4개
Hallo,
Super-Anleitung. Kannst Du verraten, was für einen Motor man zur Austausch benötigt?
Spannung, Leistung, Umdrehungen, Maße, etc.?
Und vielleicht eine Bezugsquelle.
Danke Dir,
Kai
Die Spule unten muss nicht ab! Woher bekommst du eine Ersatz motor? Im Internet findet man Nichts?!
Hans Wurst - 답글
Vielleicht bei diesem Verkäufer?
VauWeh -