소개
Use this guide to replace your CPU.
필요한 것
-
-
Unplug your iMac's AC cord along with any peripheral devices.
-
Lay your iMac face-down on a soft, clean surface as shown.
-
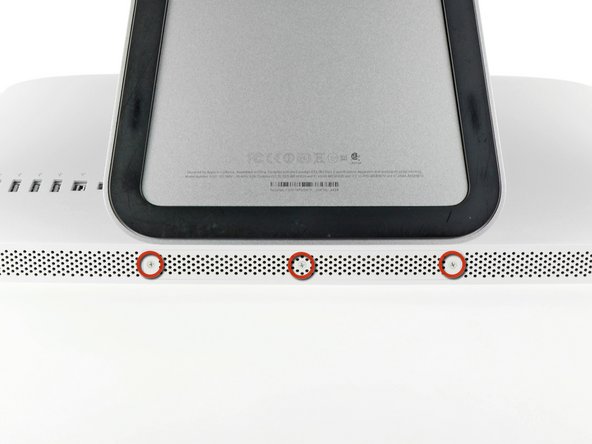
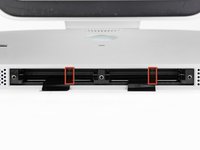
Loosen the three Phillips screws securing the access door to the bottom edge of your iMac.
-
Remove the access door.
-
-
이 단계에 사용된 도구:Heavy-Duty Suction Cups (Pair)$14.95
-
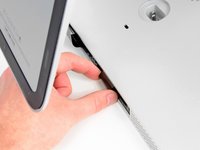
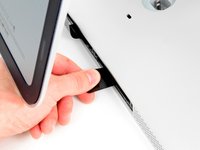
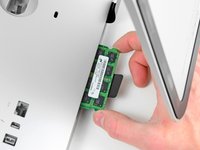
Stick a suction cup near each of the two top corners of the glass panel.
-
If your suction cups refuse to stick, try cleaning both the glass panel and the suction cup with a mild solvent.
-
-
-
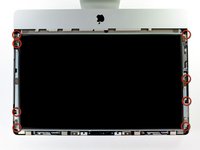
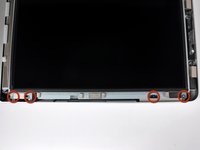
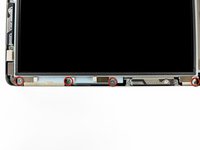
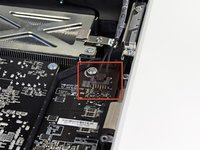
Remove the following four screws:
-
One 9.3 mm T10 Torx screw with a large head
-
Three 9.3 mm T10 Torx screws with a normal sized head
-
-
-
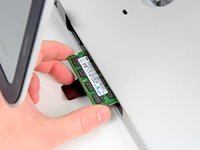
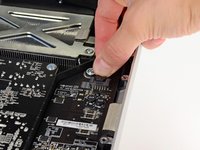
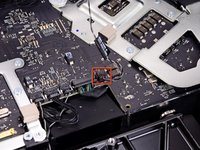
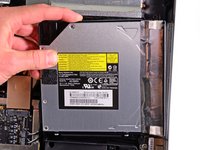
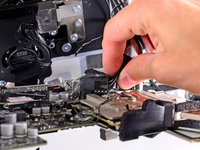
Lift the inner edge of the optical drive and maneuver its connector past the GPU frame attached to the logic board.
-
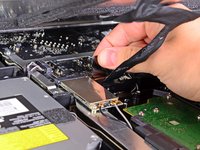
Carefully pull the optical drive off its mounting pins on the right side of the outer case to gain clearance for disconnecting the optical drive cable.
-
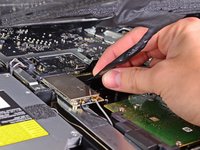
Allow the optical drive to hang down as you de-route the optical drive thermal sensor connector from behind the GPU heat sink.
-
-
-
-
Remove the single 13 mm T10 Torx screw securing the optical drive fan to the outer case.
-
-
-
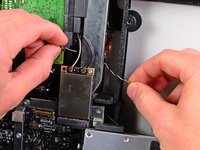
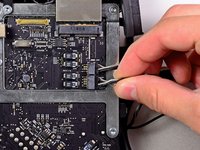
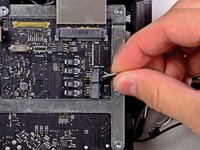
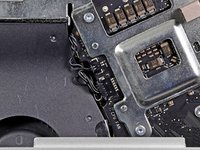
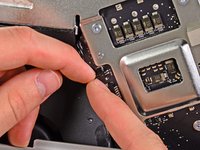
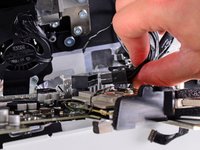
In the proceeding steps, you will disconnect the following cables:
-
SD Board and microphone
-
Left/Right Speaker
-
Wi-Fi Antenna
-
Bluetooth/Ambient Light Sensor/Camera/Left Temperature Sensor, Hard Drive Temperature Sensor and Hard Drive Fan
-
CPU Fan/Ambient Temperature and Power Button
-
IR Sensor
-
-
-
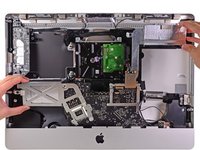
Remove the following four screws:
-
One 9.3 mm T10 coarse-threaded screw
-
One 25 mm T10 coarse-threaded screw
-
Two 22 mm fine-threaded screws
-
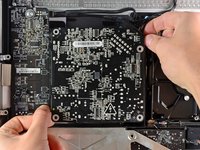
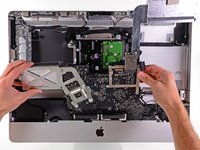
Pull the upper right and lower left corners of the power supply away from the rear case to dislodge the mounting posts attached to the power supply's corners.
-
-
-
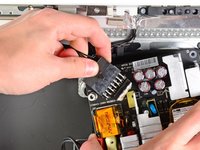
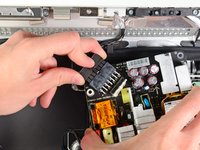
Carefully lift the power supply out of the outer case and rotate it to expose the cable lock as shown, minding the DC-out and AC-in cables still attaching it to the iMac.
-
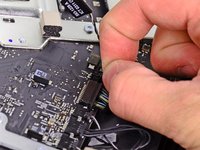
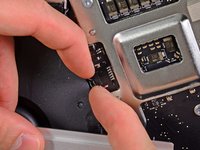
Disconnect the DC-out cable by depressing the locking mechanism on the connector while you pull the connector away from its socket on the power supply.
-
Once the locking mechanism has cleared the socket, pull the DC-in connector away from the power supply.
-
-
-
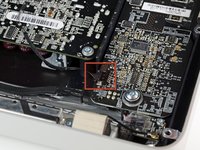
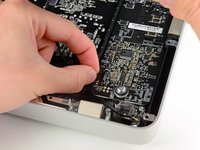
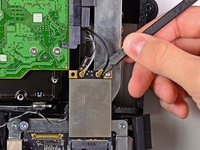
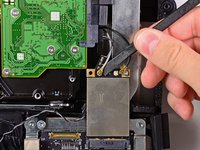
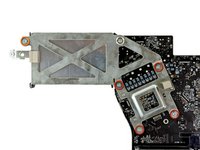
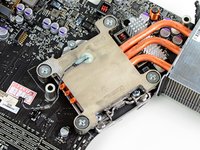
Peel the piece of tape covering the heat sink thermal sensor cable up off the logic board.
-


To reassemble your device, follow these instructions in reverse order.
다른 41명이 해당 안내서를 완성하였습니다.

14가이드 댓글
Which of the CPU can i install?
Hi, one question:
if i buy a new CPU that supports Ram 1600 Mhz, but my iMac use only 1333Mhz, if i put this CPU my iMac can use the total powerful of the 1600 Mhz?
Thanks
Please note that there are guides here to replace the CPU with a i7 2.93GHz on the iMac. This is specifically for the iMac 27" 2010 and NOT the 21.5". Even though the CPU has the same socket and fits in the ZIF socket there is a big difference between the 27" which uses a 95watt CPU and the 21.5" that only supports 74watt. So your only choice is to upgrade to a i5 3.6GHZ.
Hola,
Desde luego que hay diferencia, pero no es tanta como uno supondría dada la diferencia de rendimiento. El iMac de la generación del mío (mid 2010) puede usar 5 procesadores diferentes, cuyas especificaciones de disipación térmica son:
Core i3 540 (3.06 GHz): 73 Watts
Core i3 550 (3.20 GHz): 73 watts
Core i5 680 (3.60 MHz): 73 watts
Core i5 760 (2.80 MHz): 95 Watts
Core i7 870 (2.93 MHz): 95 watts
Dado que estos son los procesadores de fabrica de este iMac, al usar un Core i7 870 no debiera tener ningún problema de refrigeración ... claro que igual cruzaré los dedos por si acaso
Saludos cordiales,
Hola yo tengo una imac core i3 550 LGA 1156, y quiero actualizarlo a un core i5 750 1156 pero no me funciona, pero cuando vuelvo a colocar el core i 3 si funciona. No me da señal de video con core i5 / i7 puede ser que solo funcione con core i3 ? segun vi soporta hasta core i7 ..
Mario -