소개
이 안내서를 사용하여 iPhone 6에서 결함이 있는 로직 보드를 분리 또는 교체하세요.
각 iPhone의 로직 보드와 Touch ID 지문 센서는 출고 시 페어링되어 있으므로 새 로직 보드에 올바르게 페어링된 교체용 홈 버튼도 "설치하지 않는 한" 로직 보드를 교체하면 Touch ID가 비활성화된다는 점에 유의해야 합니다.
이 안내서를 사용하여 상단 케이블 브래킷을 교체할 수도 있습니다.
필요한 것
-
-
분해를 시작하기 전에 iPhone 전원을 끄세요.
-
Lightning 커넥터 옆에 위치한 3.6mm-길이 P2 Pentalobe/펜타로브/별나사 두 개를 풀어주세요.
-
-
이 단계에 사용된 도구:Clampy - Anti-Clamp$24.95
-
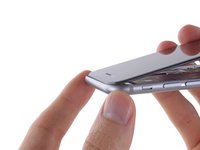
파란색 핸들을 뒤로 당겨 Anti-Clamp의 팔을 풀어 주세요 .
-
Anti-Clamp의 팔을 iPhone의 왼편 또는 오른편 가장자리로 밀어 주세요.
-
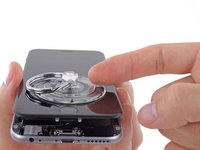
흡입 컵을 iPhone의 홈 버튼 바로 위 하단 가장자리 근처에 배치하세요—전면에 하나, 후면에 하나.
-
흡입 컵을 함께 눌러서 원하는 부위에 흡입하세요.
-
-
이 단계에 사용된 도구:Clampy - Anti-Clamp$24.95
-
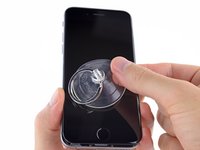
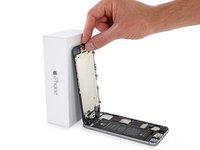
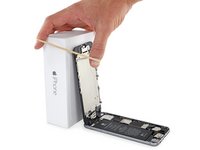
iSclack이 없는 경우 흡입 컵 하나를 사용하여 전면 패널을 들어올리세요:
-
홈 버튼 바로 위에 흡입 컵을 화면에 누르세요.
-
-
이 단계에 사용된 도구:Magnetic Project Mat$19.95
-
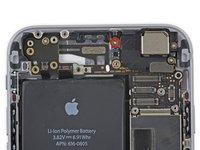
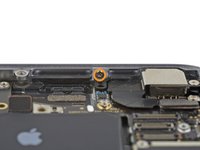
배터리 커넥터 브래킷을 고정하는 다음 Phillips/십자 나사들을 분리하세요:
-
2.2mm 나사 한 개
-
3.2mm 나사 한 개
-
-
-
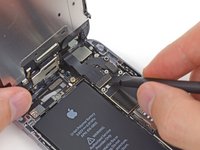
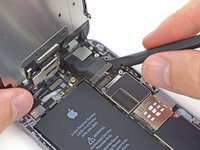
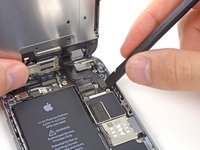
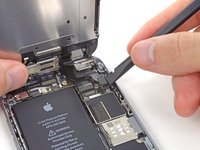
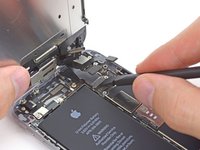
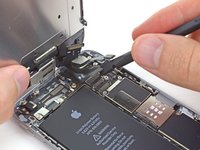
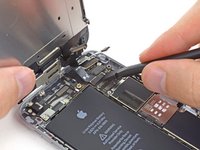
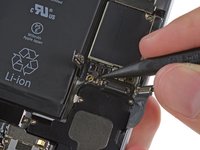
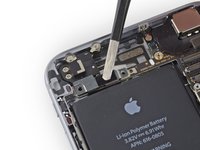
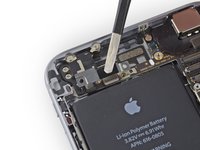
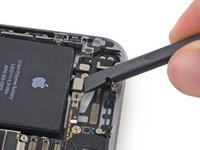
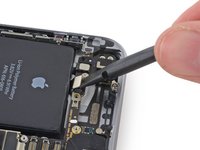
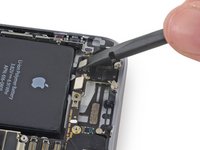
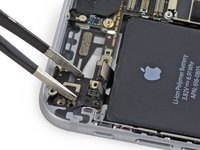
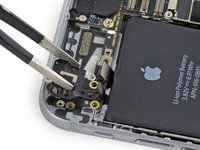
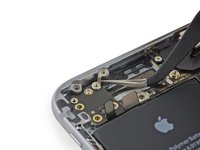
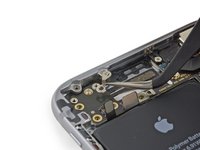
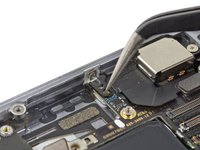
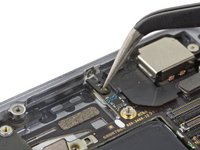
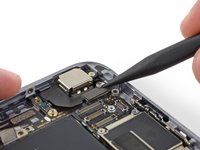
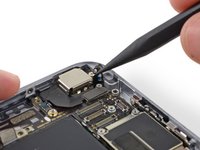
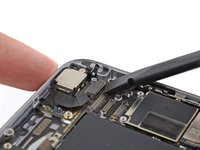
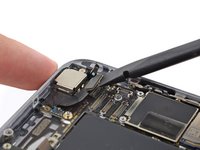
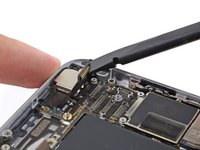
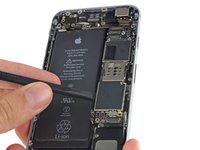
전면 패널 어셈블리 케이블 브래킷을 고정하는 Phillips/십자 나사 다섯 개를 분리하세요:
-
1.2mm 나사 세 개
-
1.7mm 나사 한 개
-
3.1mm 나사 한 개
-
-


기기를 재조립하려면 다음 지침을 역순으로 따르세요.
다른 663명이 해당 안내서를 완성하였습니다.
다음 번역가들에게 특별히 감사 드립니다:
100%

Christian Kim님은 저희가 세상을 수리하는데 동참하신 분입니다! 기여하시겠습니까?
번역 시작하기 ›


124가이드 댓글
is there a way to swap only the memory component instead of the whole thing?
Yes, you can, but you will need to have some serious soldering skills. But in theory you can replace the memory chip with another memory chip that has been reprogrammed to fit your phone's serial number.
Didrik -
Anyone an idea, where I can find the logic board?
have you found one?
http://www.powerbookmedic.com/xcart1/hom...
I buy my Parts here