주요 콘텐츠로 건너뛰기

MacBook Pro 13" Touch Bar 분해도

3 단계
MacBook Pro 13" Touch Bar Teardown: 0 단계, 이미지 3개 중 1개 MacBook Pro 13" Touch Bar Teardown: 0 단계, 이미지 3개 중 2개 MacBook Pro 13" Touch Bar Teardown: 0 단계, 이미지 3개 중 3개
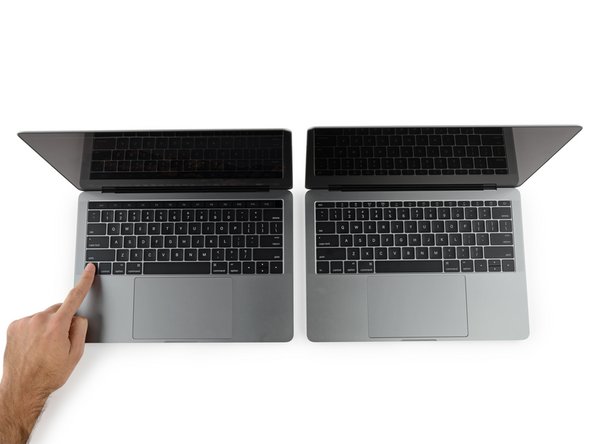
  • According to Apple, this MacBook Pro's dimensions match exactly with those of the "Escape Edition" machine we tore down a couple weeks ago. Do we believe it even for a second? Yes we do.

  • Do you miss your function keys? Hold down the Function key to see your missing function keys. Chameleon Mode, engage.

  • One thing that is noticeably different is, of course, the port situation on the starboard side. This Touch Bar-equipped machine packs two extra Thunderbolt ports, so you have twice as many places to plug in your dongles.

  • Throwing both machines onto the scale, we find the Touch Bar version weighs about 20 grams less than its counterpart. We're chalking the difference up to this laptop's smaller battery.

  • Finally, we note a pair of side vents on the underside of the Touch Bar version, similar to the ones we've spotted in previous Retina MacBook Pros—but absent from the Function Key model.

Apple에 의하면, 이 MacBook Pro의 치수는 우리가 몇 주 전에 분해한 "Escape Edition" 기계와 정확히 일치한다고 합니다. 우리는 한 순간도 그 말을 의심하지 않을까요? 예 믿습니다.

기능 키가 그립습니까? Function 키를 길게 눌러 사라진 기능 키를 보세요. Chameleon Mode/카멜레온 모드, 시작.

눈에 띄게 다른 한 가지는, 물론, 우측 포트 상황입니다. 이 Touch Bar를 장착한 기계는 추가 Thunderbolt 포트 두 개를 포함하고 있으므로 동글을 연결할 수 있는 자리가 두 배나 많습니다.

두 기계를 모두 저울에 올리면 Touch Bar 버전이 상대 기기보다 약 20g 가볍습니다. 우리는 이 차이를 노트북의 더 작은 배터리 때문으로 여깁니다.

끝으로, 이전 Retina MacBook Pro와 비슷하지만 Function Key/기능 키 모델에는 없는—Touch Bar 버전 아랫면에 한 쌍의 측면 통풍구가 있습니다.

귀하의 기여는 오픈 소스 Createive Commons 라이선스 하에 허가되었습니다.