
Nintendo Switch OLED Model 왼편 Joy-Con 센서 레일 교체

이 안내서를 따라서 Nintendo Switch OLED 왼편 Joy-Con 센서 레일을 교체하세요.
안전을 위해서, Switch를 분해하기 전에 배터리를 25% 이하로 방전하세요. 이는 수리 도중 실수로 배터리를 손상할 때 일어날 수 있는 열 화재 위험을 줄일 수 있습니다. 배터리가 부풀어 올랐다면, 적절한 예방 조치를 취하세요.
Switch OLED는 JIS 나사를 사용하지만 유사시에는 Phillips/십자 드라이버를 사용할 수 있습니다. 나사산을 벗기지 않도록 각별히 주의하세요. iFixit의 Phillips/십자 비트는 JIS 스타일 나사와 교차 호환하도록 설계하였습니다.
참고: 실드 플레이트를 분리할 때, 플레이트와 방열판 사이의 열 화합물을 교체해야 합니다. 일반 열 페이스트는 큰 간격을 잇도록 설계되지 않았기 때문에 가장 가까운 대체품은 K5 Pro 점성 열 페이스트입니다. 하지만 방열판을 교체할 때 교체용 서멀 페이스트가 필요합니다.
필요한 것
부품

도구


더보기...
-
-
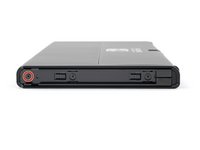
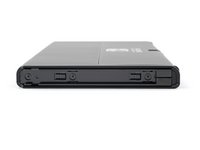
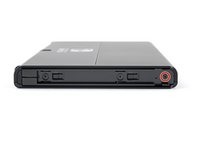
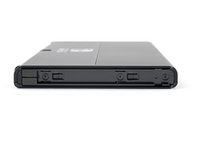
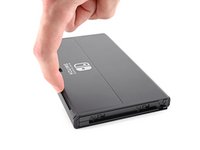
Joy Con 컨트롤러 후면의 작은 동그란 버튼을 누르고 있으세요.
-
버튼을 누른 상태에서, 컨트롤러를 위를 향해서 미세요.
-
-
-
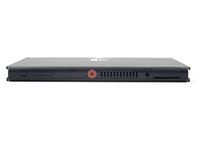
Phillips/십자 드라이버 또는 JIS 드라이버를 사용하여 후면 케이스 상단을 프레임에 고정하는 2mm-길이 나사를 풀어주세요.
-
-
-
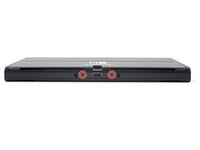
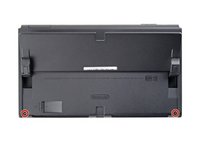
Phillips/십자 드라이버를 사용하여 오른편 Joy-Con 센서 레일을 후면 케이스에 고정하는 3.8mm-길이 나사를 풀어주세요.
-
-
-
Phillips/십자 드라이버를 사용하여 왼편 Joy-Con 센서 레일을 후면 케이스에 고정하는 3.8mm 나사를 풀어주세요.
-
-
-
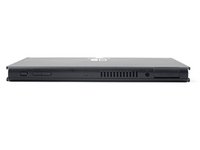
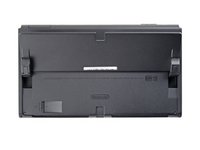
Y00 드라이버를 사용하여 후면 케이스를 프레임에 고정하는 4.3mm 나사 두 개를 풀어주세요.
-
-
-
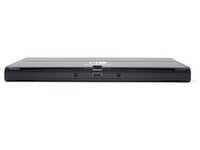
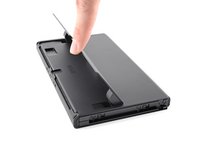
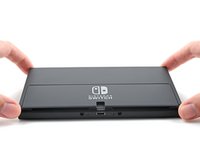
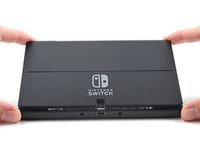
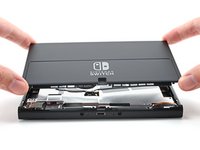
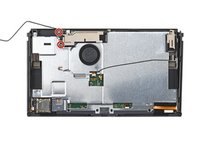
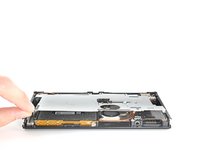
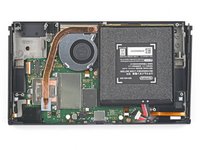
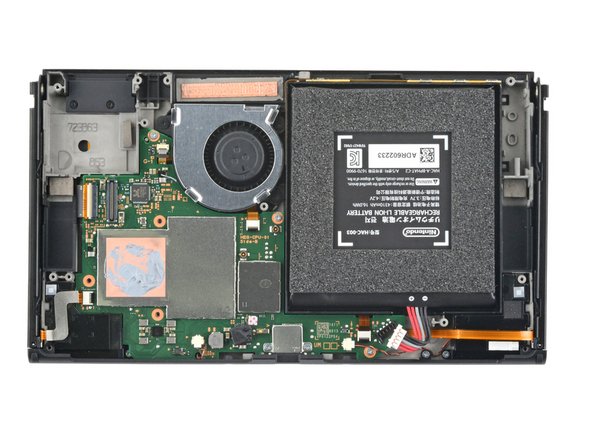
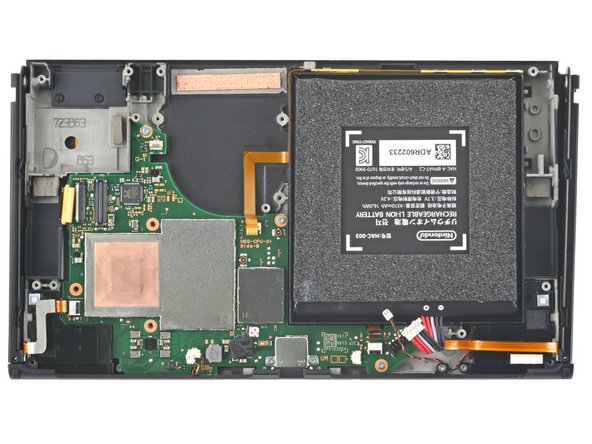
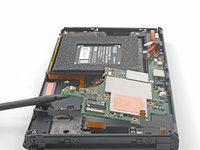
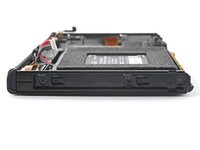
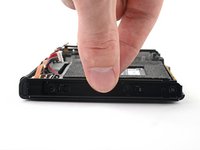
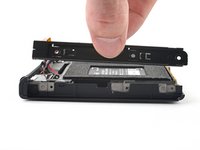
기기 상단에서 후면 케이스를 들어 올려 분리하세요.
Just a heads up that, even after removing the screws, the rear plate is still heavily clipped in place. I recommend using an opening pick or opening tool to carefully pry it up starting at the top and working your way down the sides. Once you get to the bottom, the speaker grilles are a little tricky. They're attached to the rear plate, but they can get stuck easily as you're removing the back plate.
-
-
-
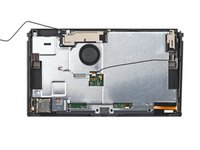
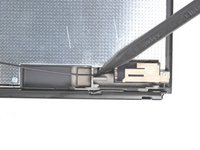
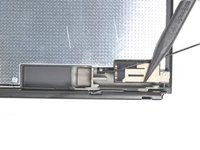
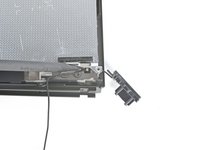
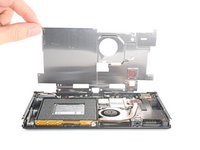
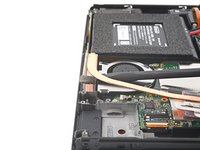
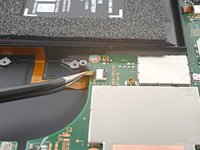
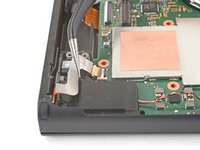
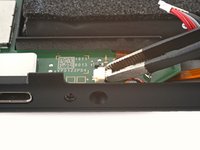
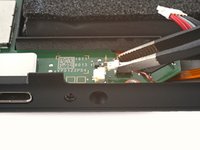
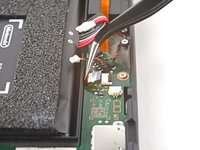
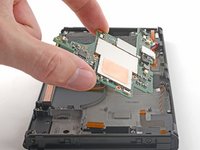
Spudger/스퍼저의 평평한 끝을 사용하여 실드 플레이트에서 테이프 모서리를 분리하세요.
Don't remove the antenna tape or the wires from the tape! The antennae can come off with the large metal shield plate anyways, so why remove them separately?? Extra UNNECESSARY WORK!! Just unscrew the antennae modules themselves, and pop out the antenna wires from the mainboard. Then they will lift with the large metal plate. (Steps 10, 11, 15, 16 are unnecessary, just remove the screws only that hold them down)
-
-
-
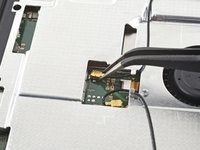
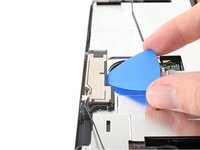
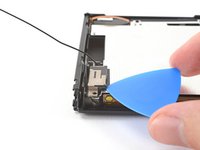
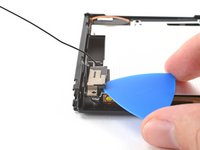
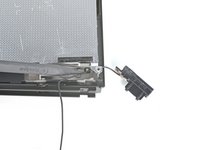
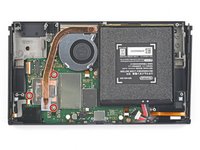
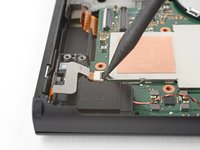
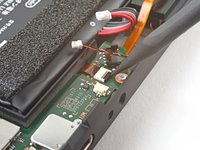
기본 Wi-Fi 안테나와 실드 플레이트 사이에 여는 픽을 끼우세요.
-
픽으로 들어 올려 실드 플레이트에서 기본 Wi-Fi 안테나를 분리하세요.
-
-
-
-
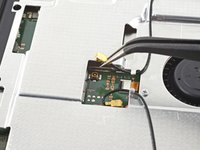
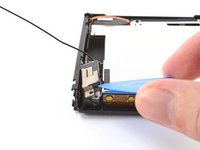
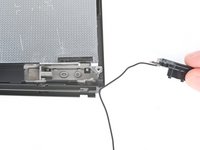
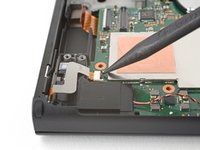
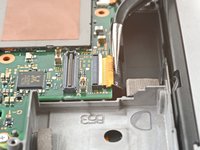
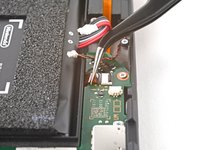
Spudger/스퍼저 끝을 사용하여 보조 Wi-Fi 안테나의 동축 케이블을 프레임의 슬롯에서 경로 변경하세요.
-
-
-
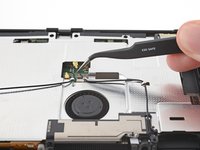
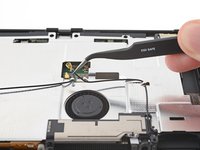
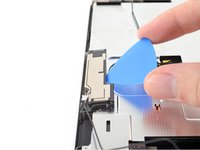
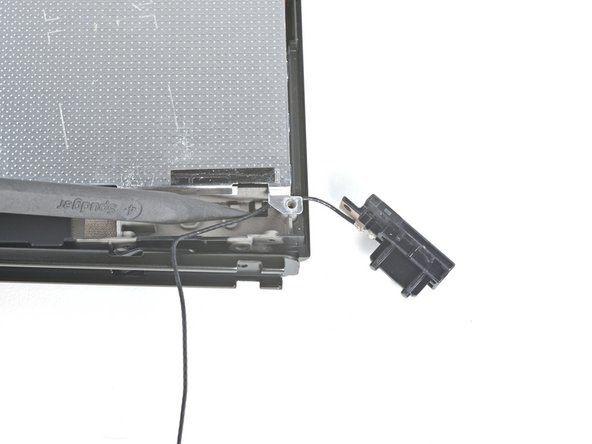
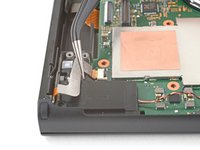
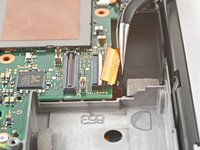
보조 Wi-Fi 안테나와 실드 플레이트 사이에 여는 픽을 끼우세요.
-
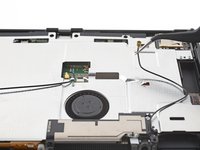
픽으로 들어 올려 실드 플레이트에서 보조 Wi-Fi 안테나를 분리하세요.
-
-
-
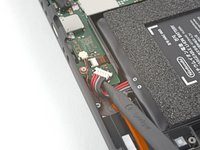
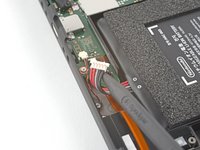
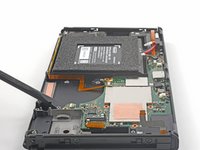
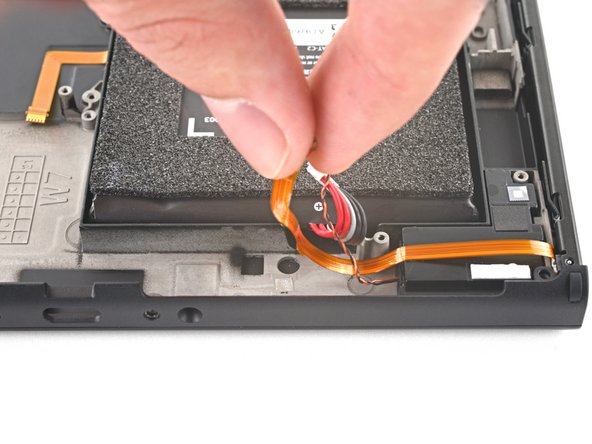
Spudger/스퍼저 끝을 사용하여 배터리를 들어 올려서 연결 해제하세요.
-
-
-
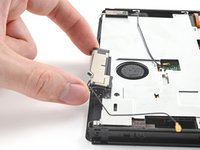
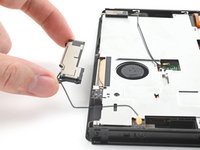
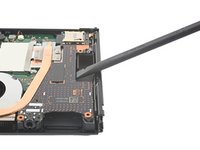
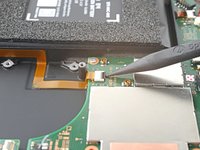
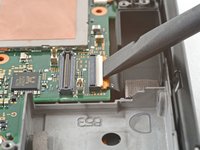
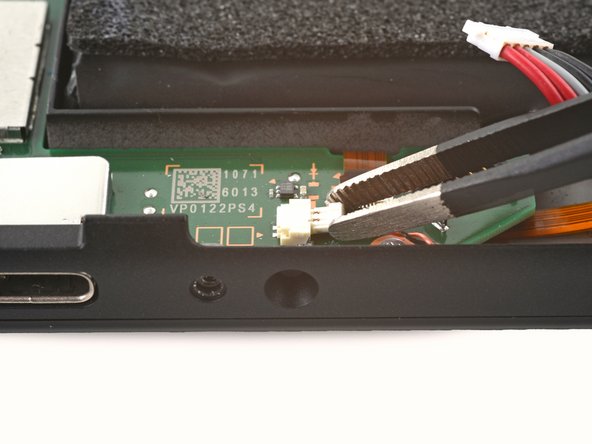
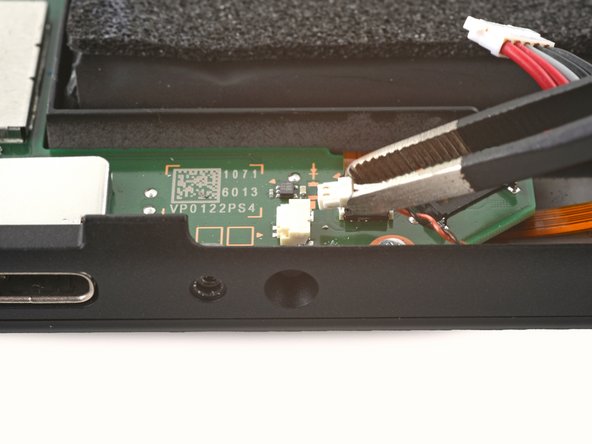
도터보드 가장자리와 마더보드 사이에 spudger/스퍼저를 끼우세요.
-
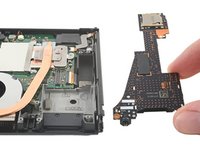
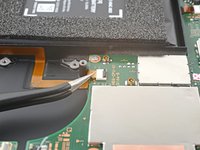
Spudger/스퍼저를 들어 올려 프레스 커넥터를 연결 해제하고 도터보드를 프레임에서 분리하세요.
-
도터보드를 분리하세요.
-
-
-
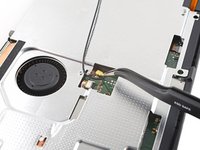
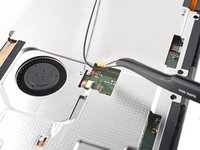
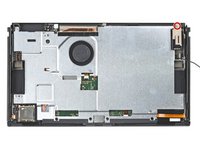
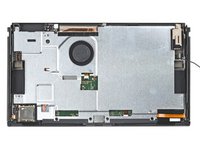
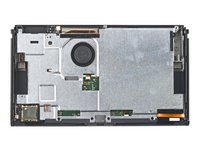
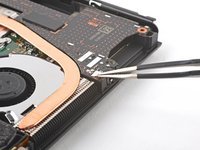
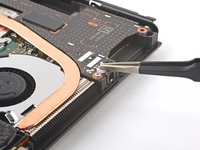
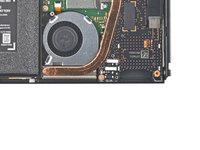
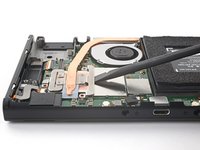
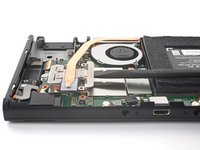
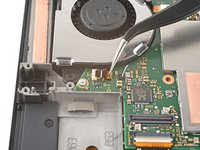
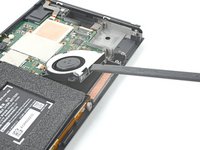
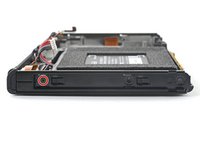
팬과 방열판 사이의 틈에 spudger/스퍼저를 끼우세요.
-
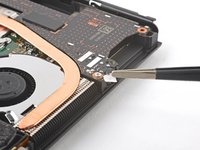
Spudger/스퍼저를 들어 올려소 방열판과 그 아랫면의 접착제를 분리하세요.
-
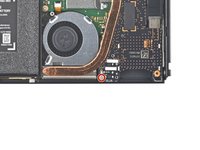
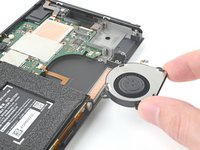
방열판을 분리하세요.
The section near the fan is pretty difficult to remove, since it's adhered to the case and there's no good way to get your spudger underneath it, even by inserting it between the fan and the heat sink. Be very gentle and work patiently. It's really easy to bend the heat sink and the fins.
-
-
-
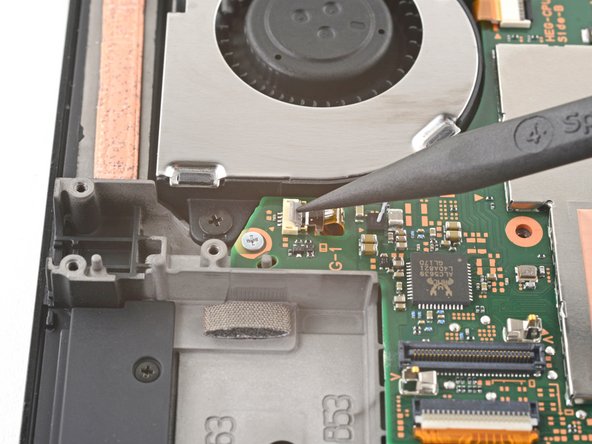
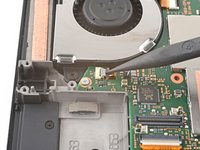
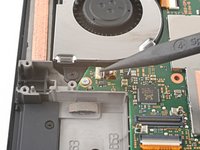
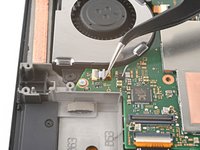
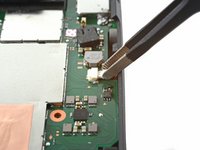
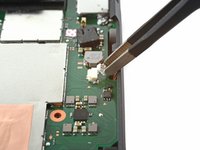
여는 도구, spudger/스퍼저 또는 손톱을 사용하여 전원 버튼 보드의 ZIF 커넥터에 있는 작은 힌지 플랩을 열어주세요.
-
-
-
여는 도구, spudger/스퍼저 또는 손톱을 사용하여 오른편 Joy-Con 센서 레일의 ZIF 커넥터에 있는 작은 힌지 잠금 플랩을 열어 주세요.
-
-
-
여는 도구, spudger/스퍼저 또는 손톱을 사용하여 디스플레이의 ZIF 커넥터에 있는 작은 힌지 잠금 플랩을 열어 주세요.
-
-
-
여는 도구, spudger/스퍼저 또는 손톱을 사용하여 오른쪽 Joy-Con 센서 레일의 ZIF 커넥터에 있는 작은 힌지 잠금 플랩을 열어주세요.
-
-
-
마더보드와 프레임 사이에 spudger/스퍼저를 끼우세요.
-
Spudger/스퍼저를 들어 올려 프레임에서 마더보드를 분리하세요.
-
마더보드를 분리하세요.
-


기기를 재조립하려면, 이 지침들을 역순으로 따르세요.
수리가 계획대로 진행되지 않았습니까? 자사의 새 교체 부품을 원래 부품과 비교하세요—설치하기 전에 나머지 부품을 옮기거나 새 부품에서 접착 뒷면을 제거해야 할 수 있습니다.
기본 문제 해결 또는 자사의 Nintendo Switch OLED 답변 커뮤니티에서 도움을 받으세요.
기기를 재조립하려면, 이 지침들을 역순으로 따르세요.
수리가 계획대로 진행되지 않았습니까? 자사의 새 교체 부품을 원래 부품과 비교하세요—설치하기 전에 나머지 부품을 옮기거나 새 부품에서 접착 뒷면을 제거해야 할 수 있습니다.
기본 문제 해결 또는 자사의 Nintendo Switch OLED 답변 커뮤니티에서 도움을 받으세요.
다른 4명이 해당 안내서를 완성하였습니다.
다음 번역가들에게 특별히 감사 드립니다:
100%

Christian Kim님은 저희가 세상을 수리하는데 동참하신 분입니다! 기여하시겠습니까?
번역 시작하기 ›


댓글 3개
I don't believe the PH00 mentioned at the top is the correct screwdriver for this. Like the original Switch Left Joy Con Rail replacement guide, JIS000 seems to be more correct after I found out the hard way. Maybe Y000 as well, but Y00 worked well enough.
I would also recommend adding the "These screws are torqued down" warning on the rail screw sections, as those screws were specifically the ones that stripped for me, which I also saw was present in the original Switch Left Joy Con Rail guide.
I'm also a little confused why Step 6 has you remove the middle screw from the left rail just for removing the back shell. At least on my Switch OLED, only the topmost rail screws on the left and right rails go through the back shell. While this is required later for this particular tutorial, it doesn't seem necessary this early.
Hi there.
Great points! I have updated the guides accordingly.
Thank you so much for this 🙌🏻 ordered a rail and screwdriver kit from Amazon to give this a try and my sons left joycon was not connecting even after cleaning and trying different joycon, yes it felt like open heart surgery 😂 but for my first time doing anything like this and your clear instructions it’s now all fixed 😅 THANK YOU